
With JCCS a few weeks away…
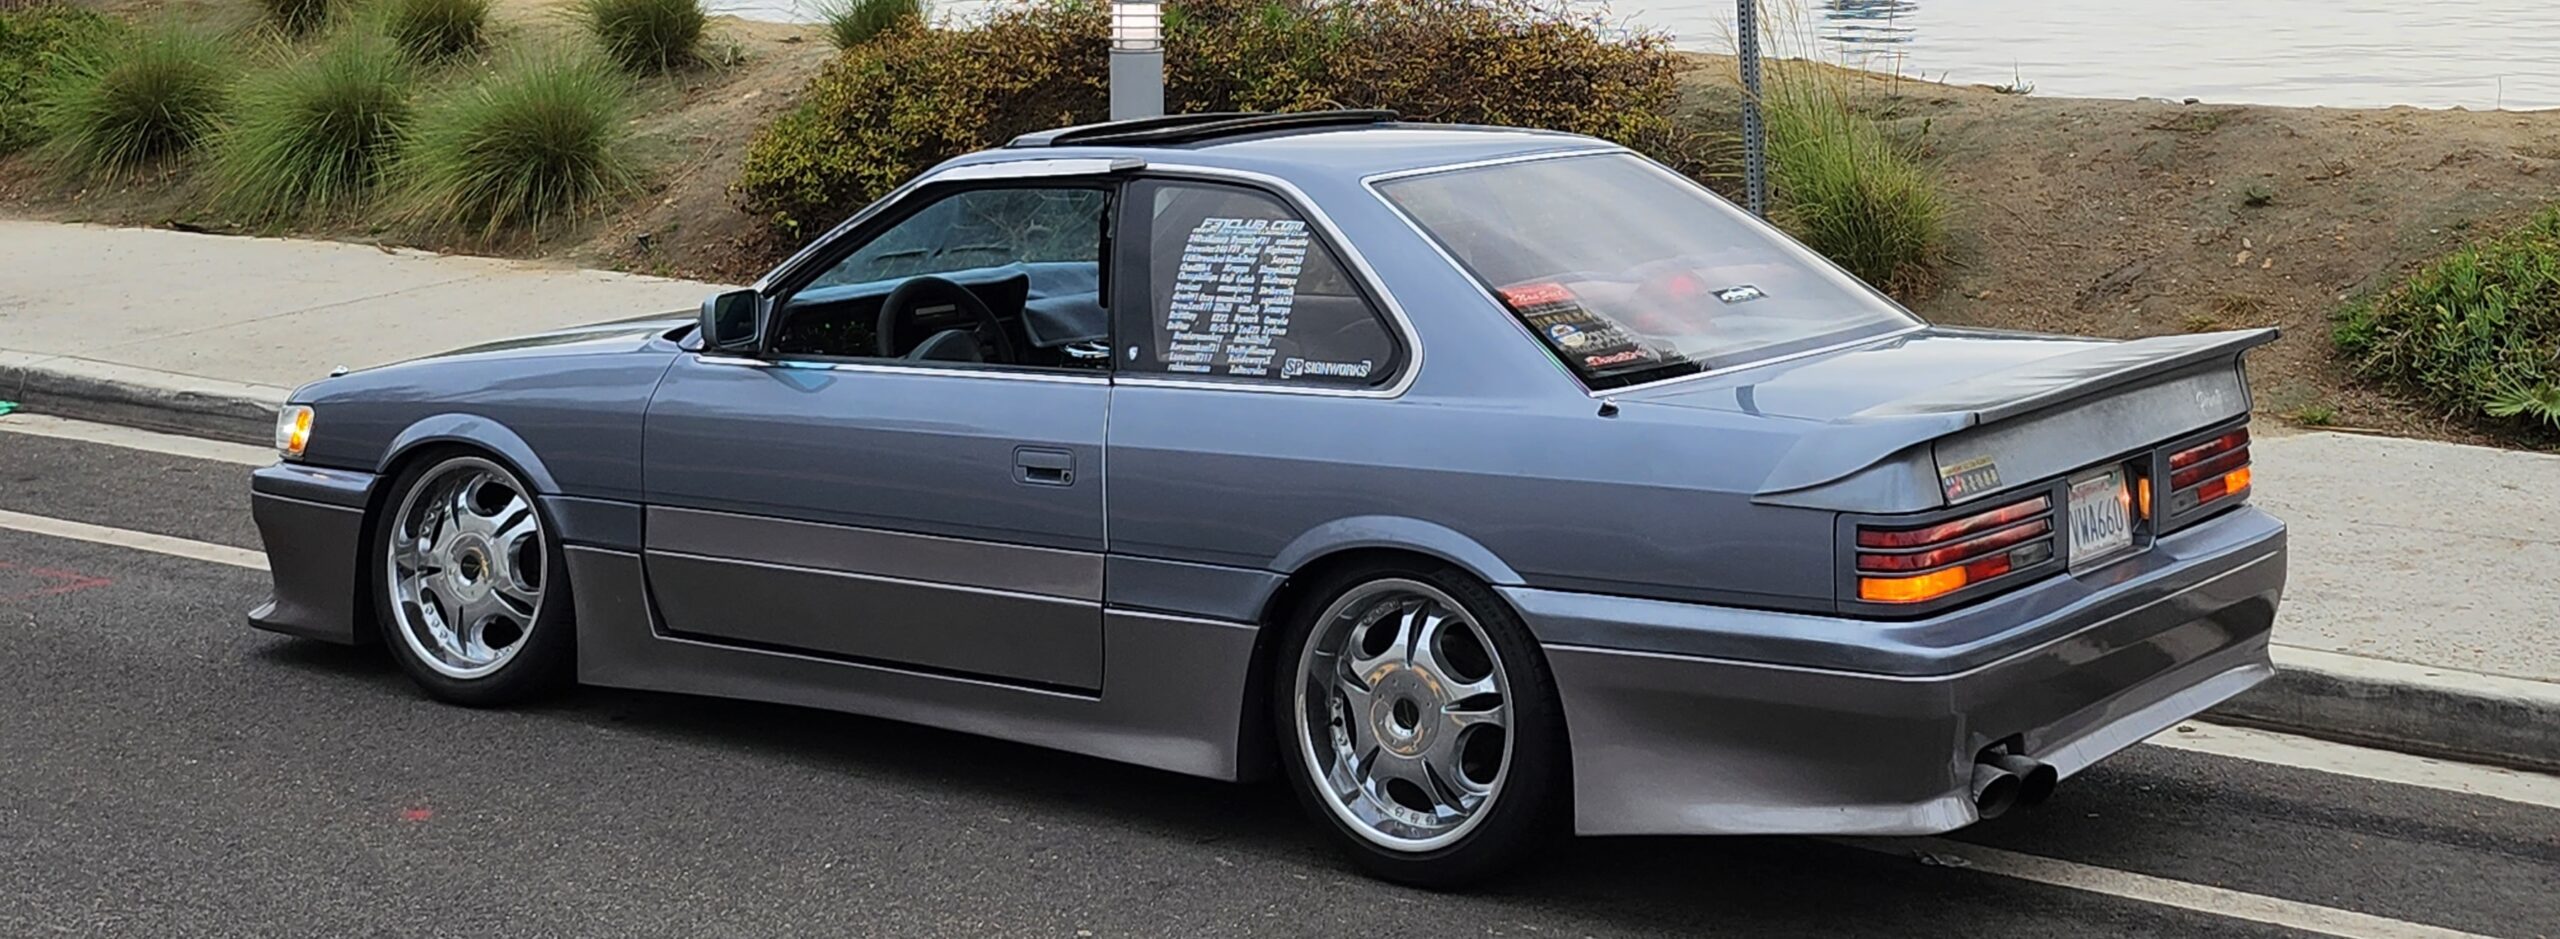
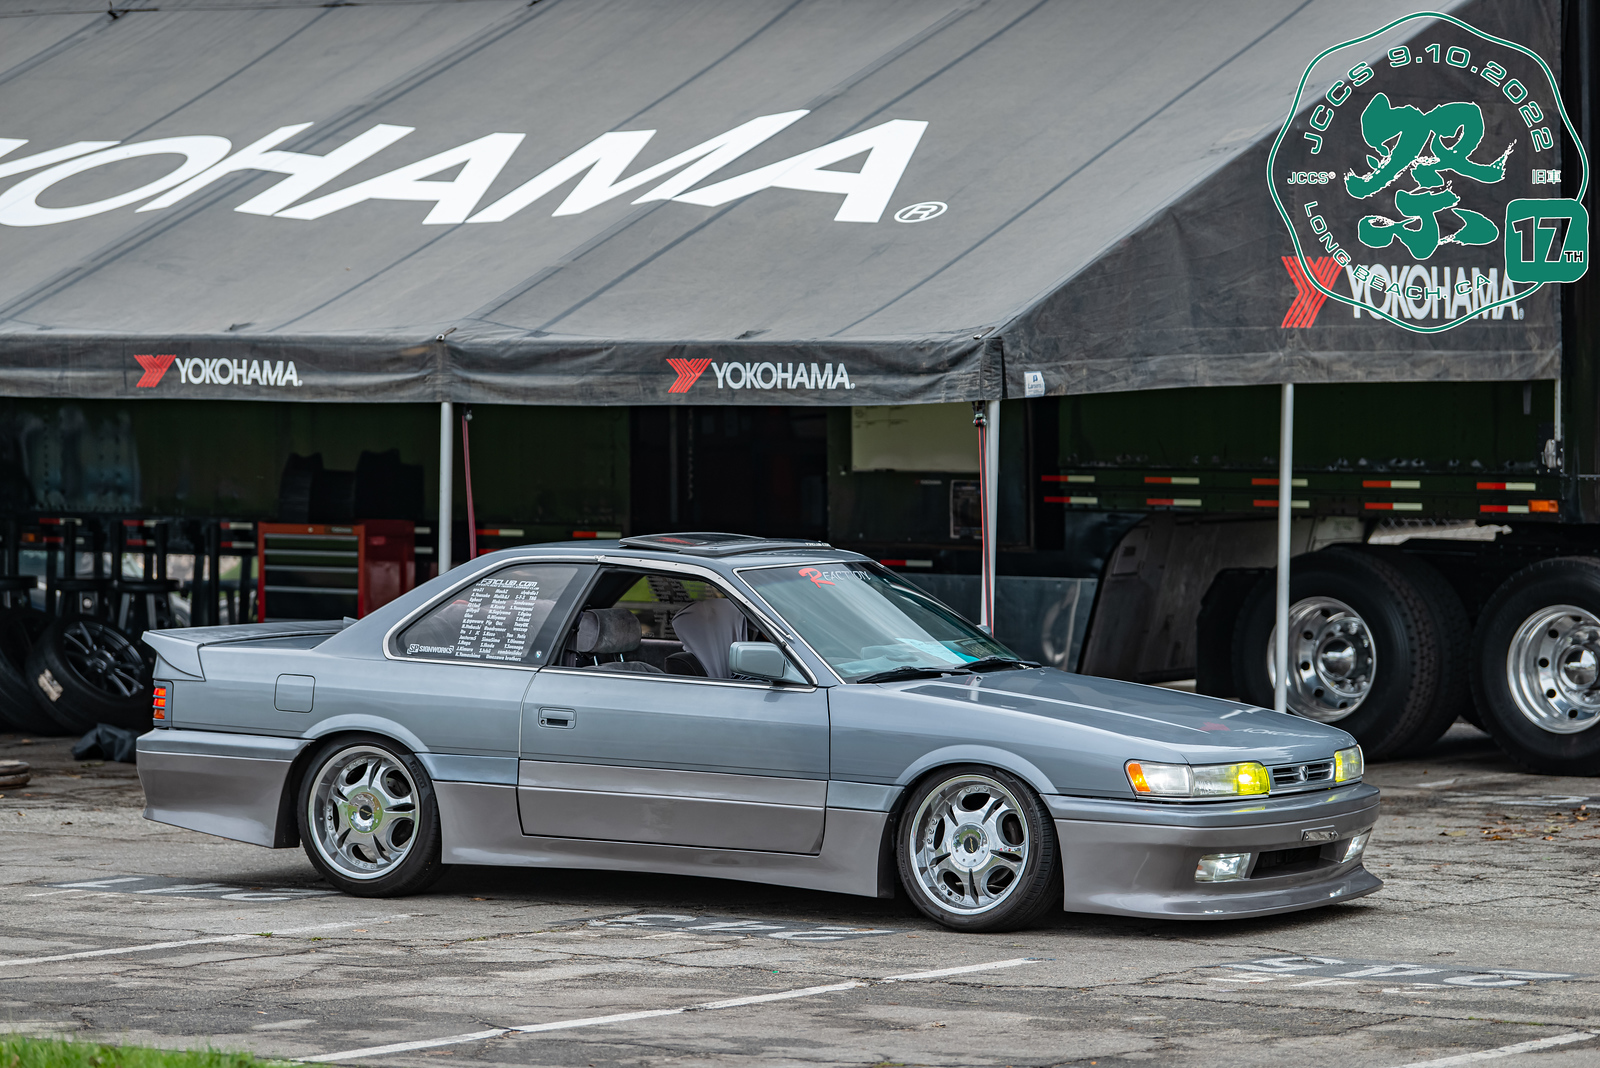
I decided I needed to address a few parts on the Diana kit. For one, the lower portion of the body kit that was painted metallic grey was fine. This was the focus of the shop that painted it last year. Since it was a rushed situation (the 105 degree weather made people not want to work, so the painter waited until night time on the night before I was to leave to paint the body kit). He painted the top part (Blue Grey storm) of the kit, but didn’t fix some of the issues and infact ran out of clear for my wing.
While the bottom isn’t perfect, it was good enough for me. The top part I wanted to address and since it has more of the cracks (damage from shipping) on the rear bumper. Also the biggest part for me was that the painter screwed up on the door panels and painted them all metallic grey instead of painting the top blue grey.
That was one of my biggest issues. I was so exhausted that night, I didn’t even realize.
Fixing the aero
I just want to put this out there. I’m a regular guy. I don’t have sponsorships or hooks on anything. If anything, it is usually my M30 friends helping me with some of the big stuff I don’t know. With that said, I’m not attached to car communities like many are. I am an outlier and a loner.
I have to address the aero and recently, I’ve been burnt depending on shops to do the work (not for free, with payment). Especially with the Project Leoprd fiasco.
So I wanted to give it my best DIY. I spent money on the paint and 2k Clear coat (that stuff is awesome,but you have to use it within 2 days).
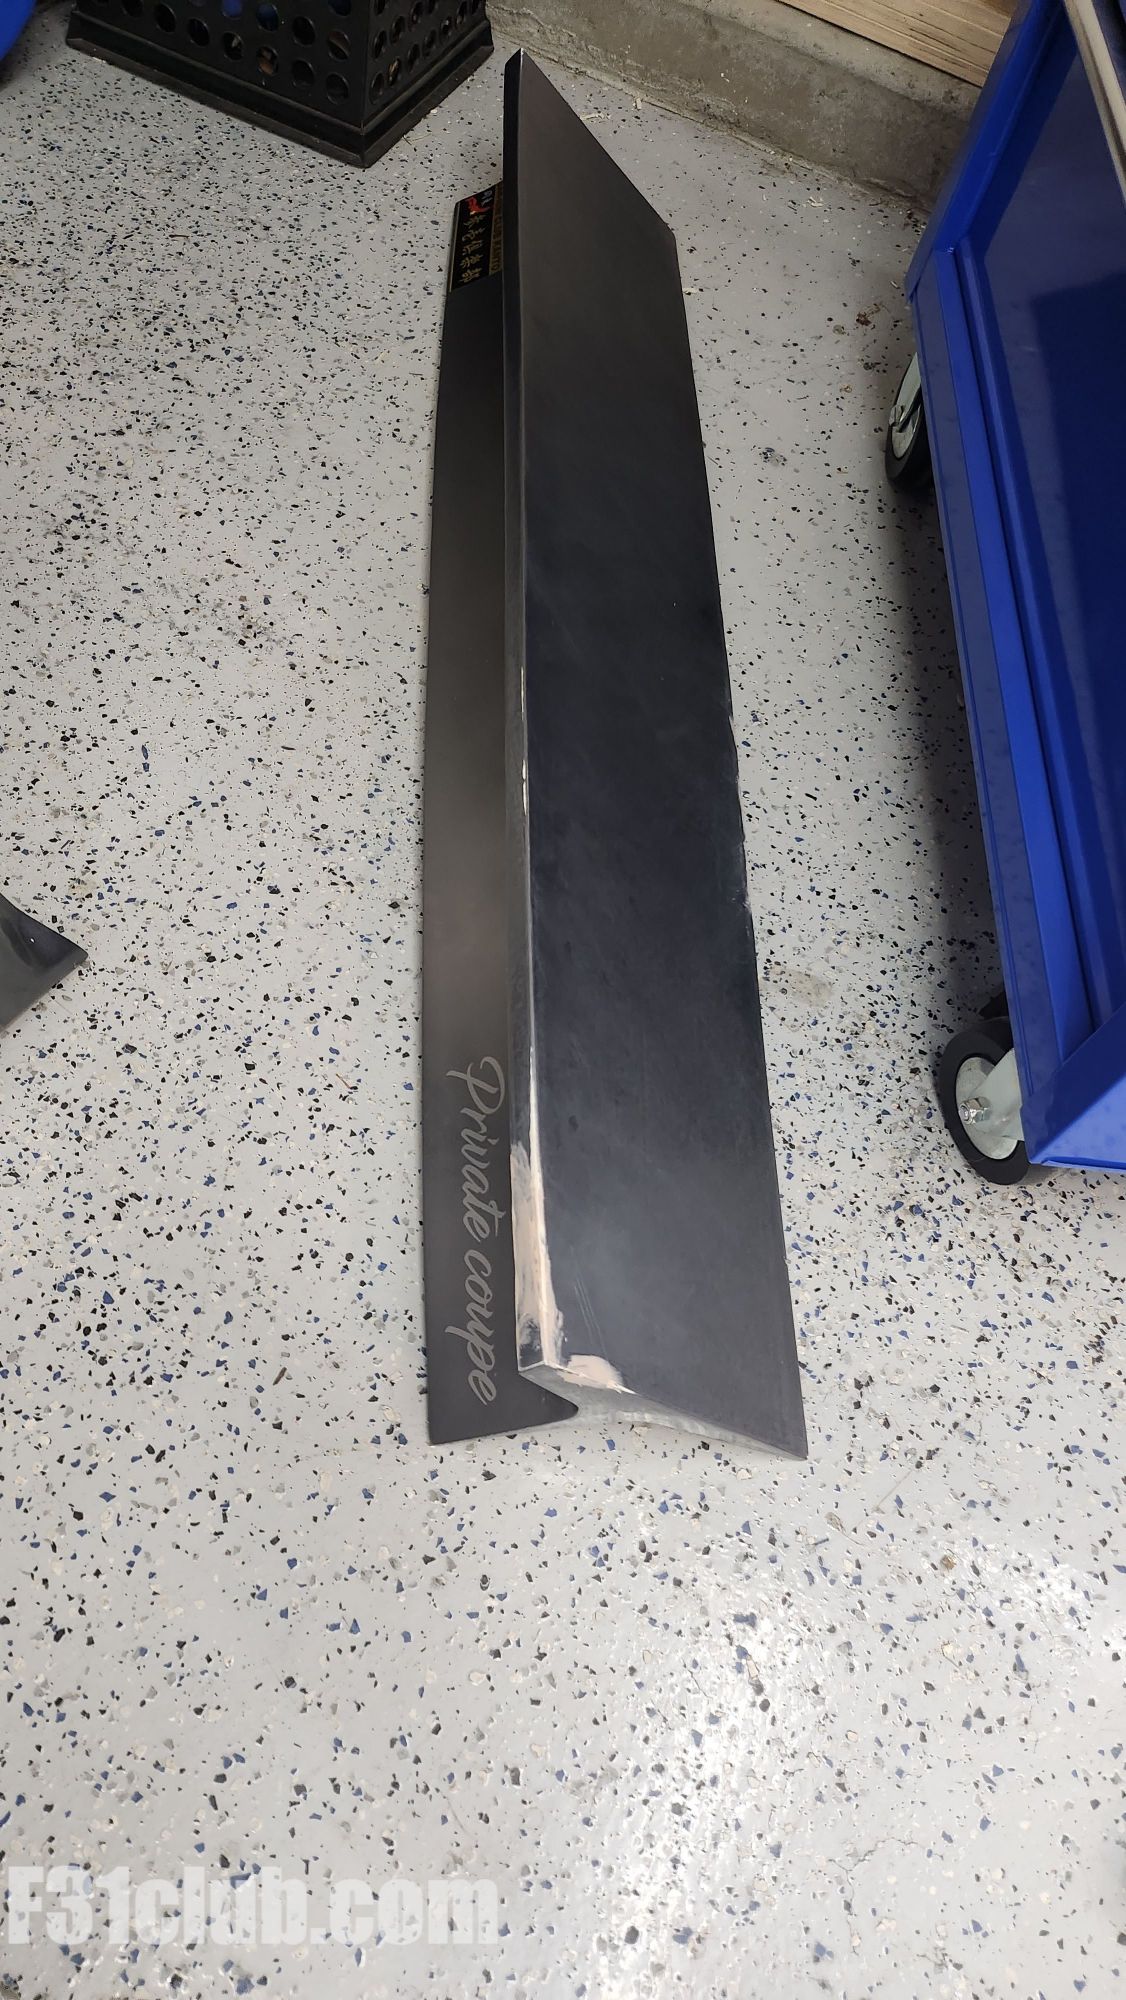
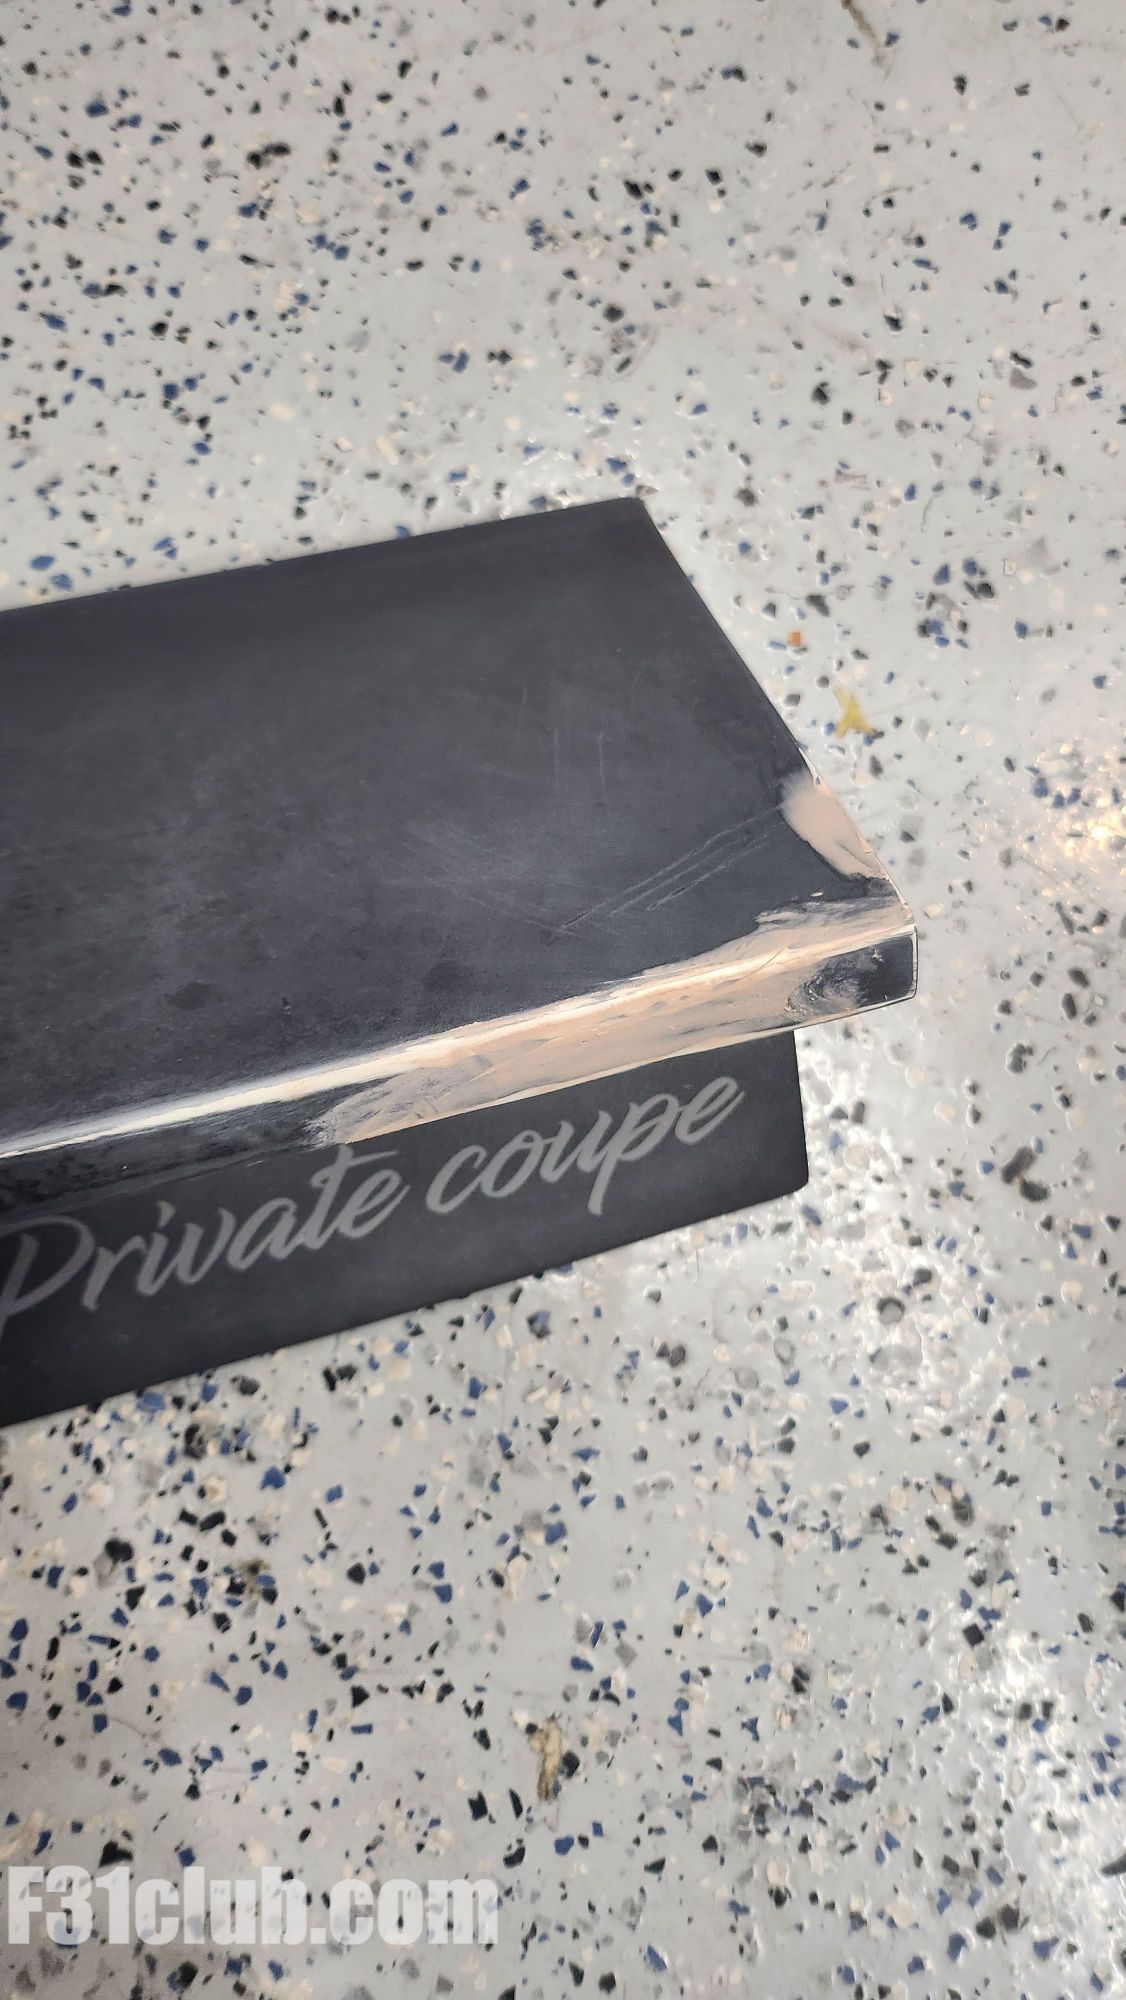
The Wing
The wing had some spider cracks and rough spots. After sanding down some spots, I used some filler to address some of the cracks and primered.
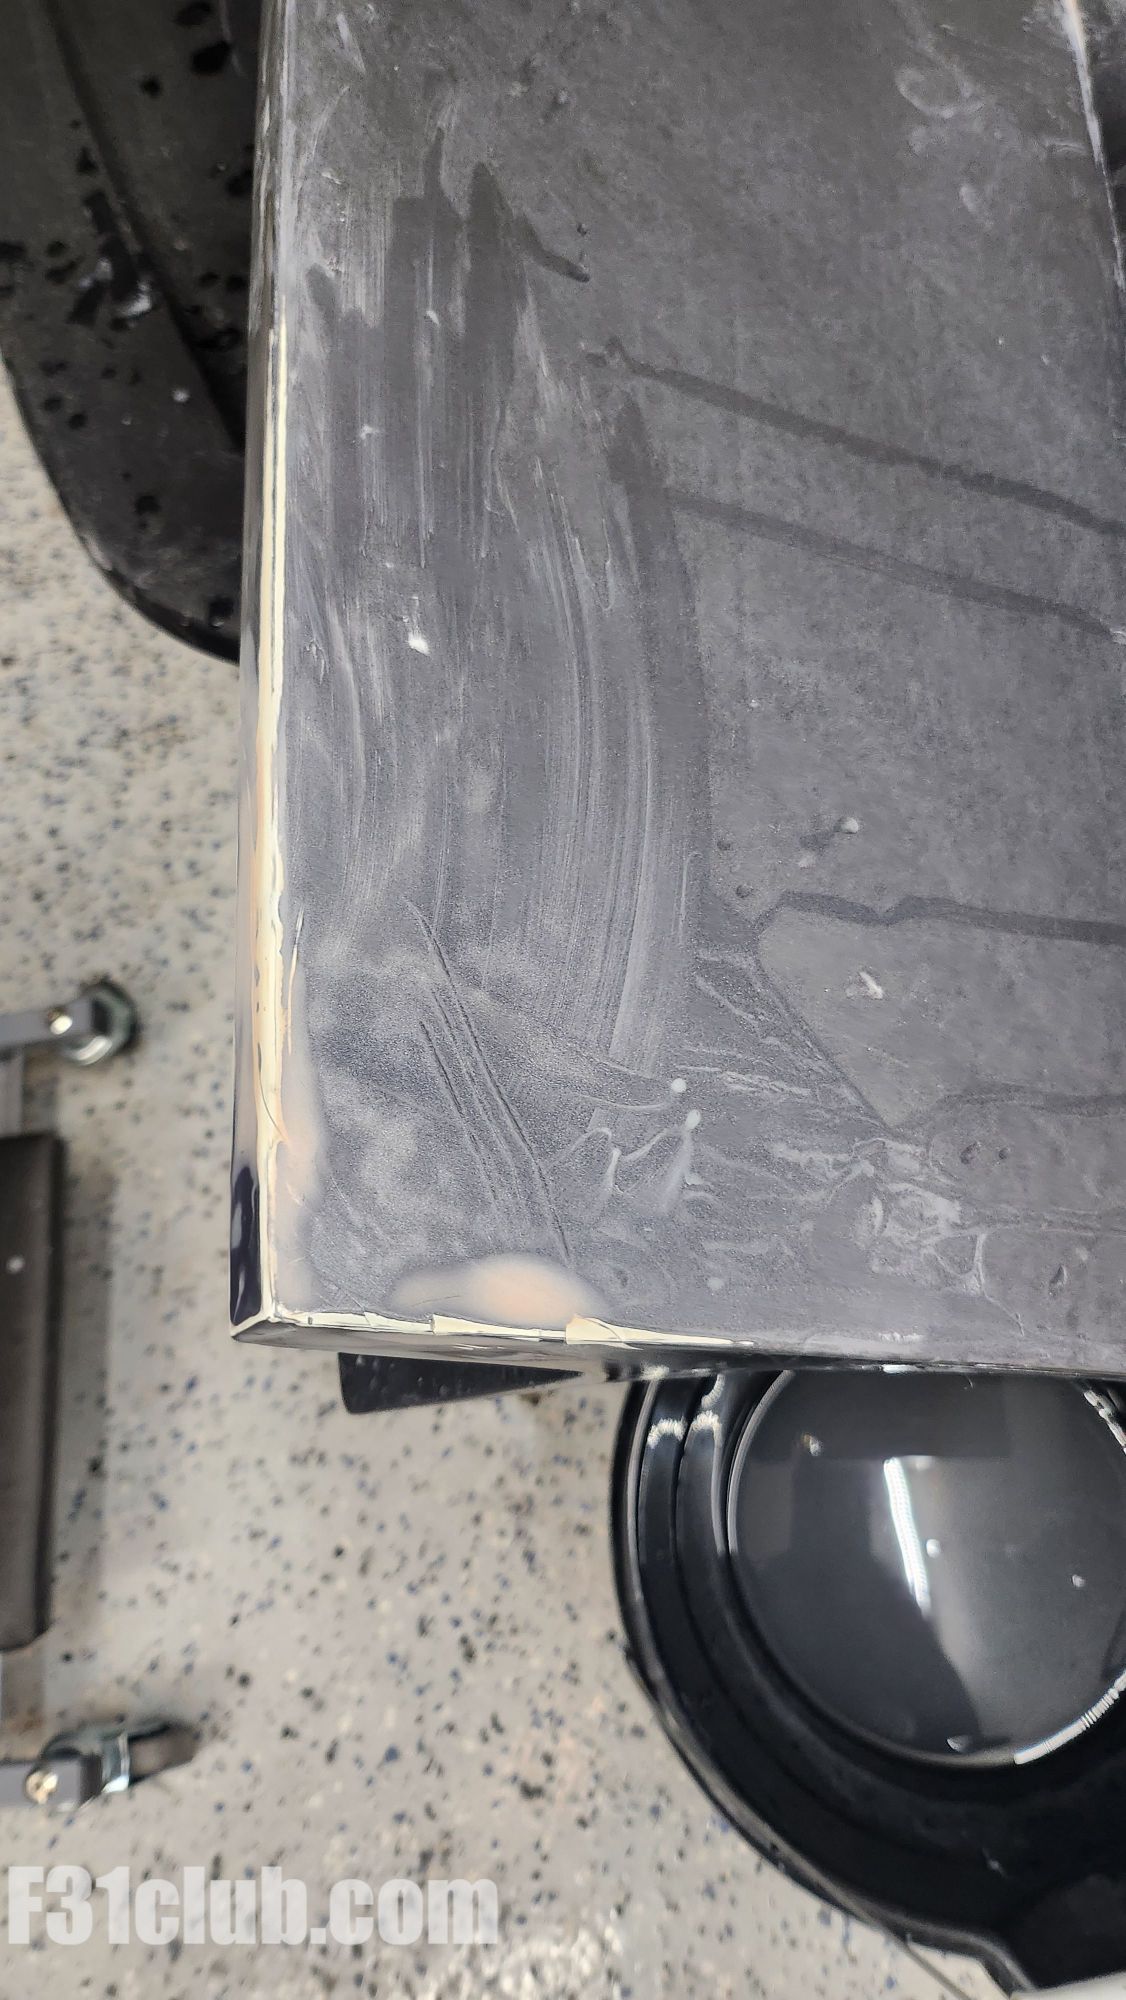

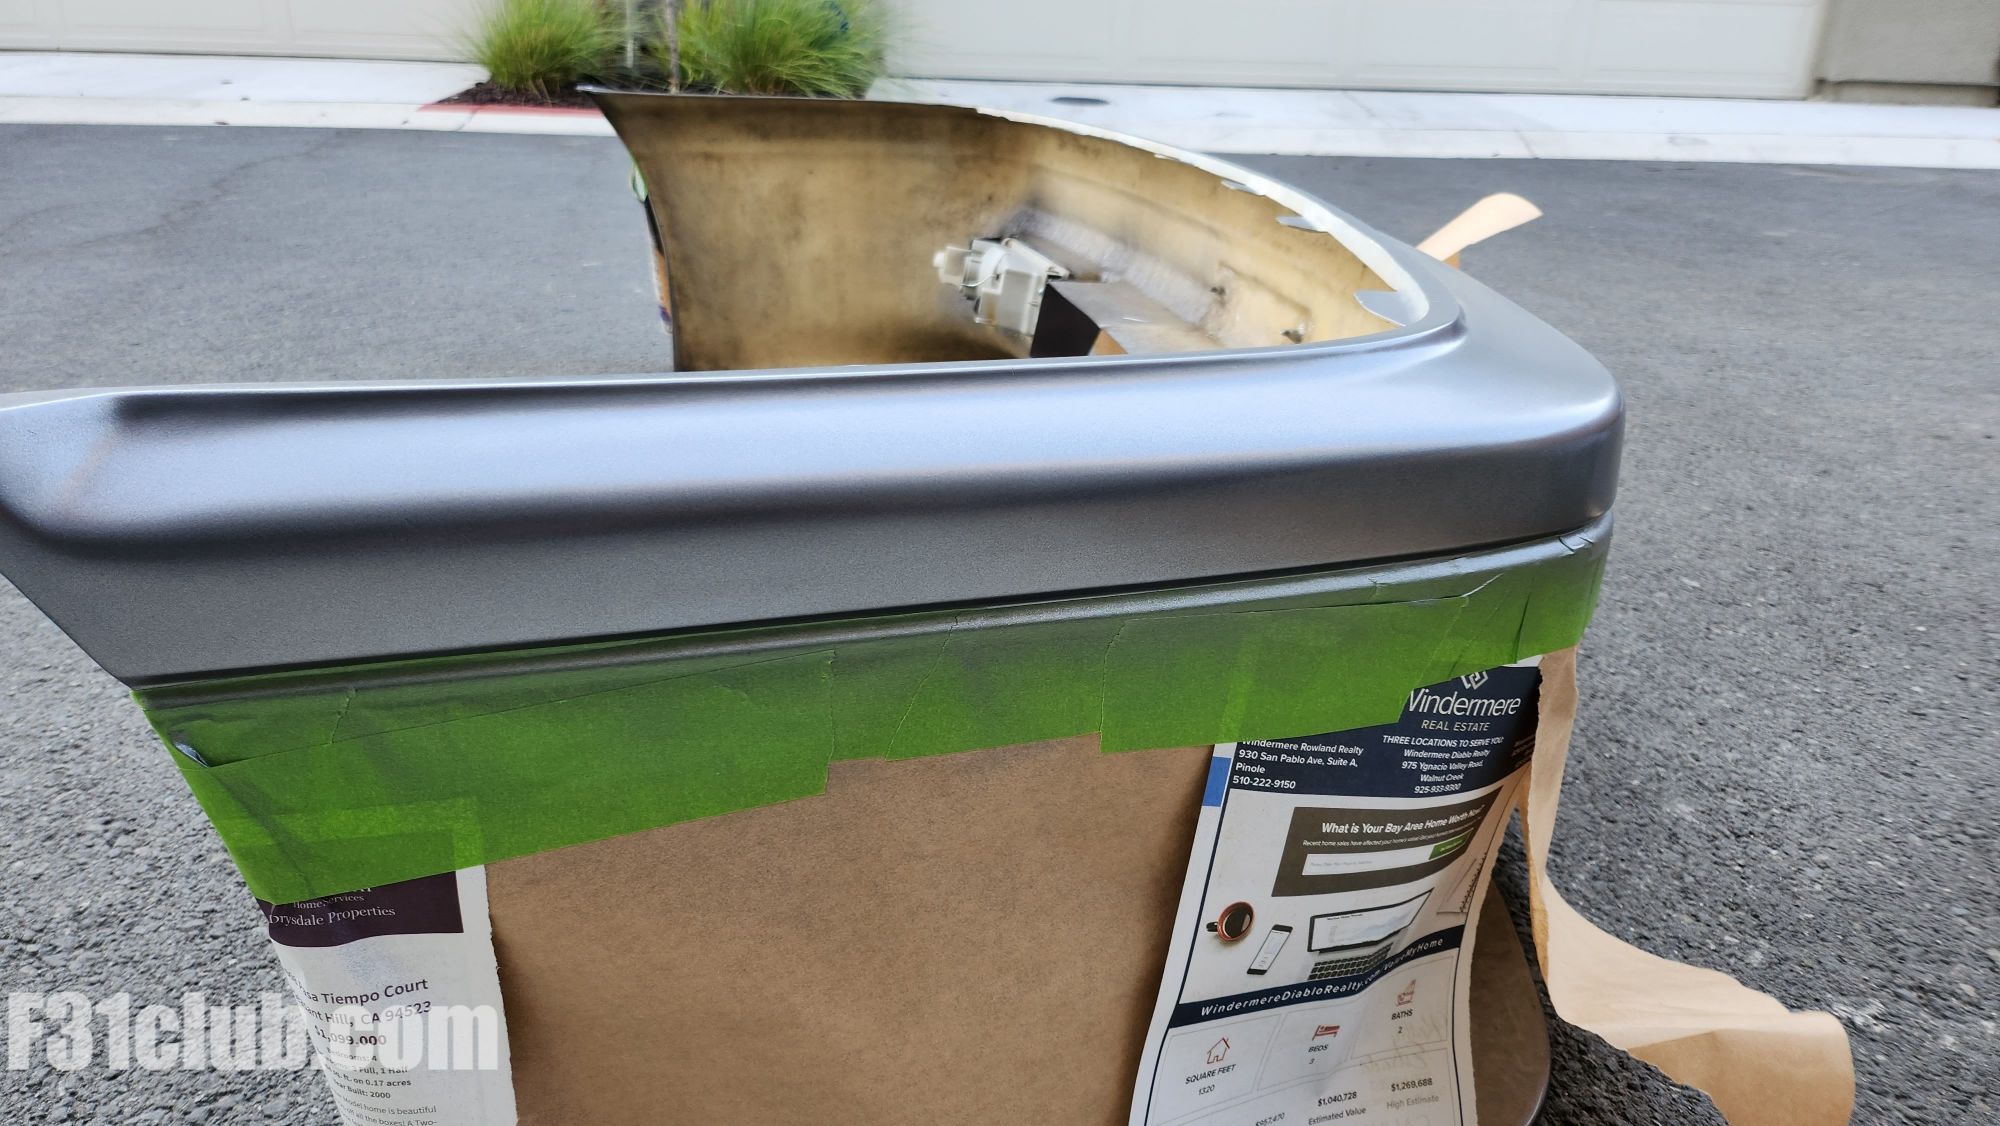
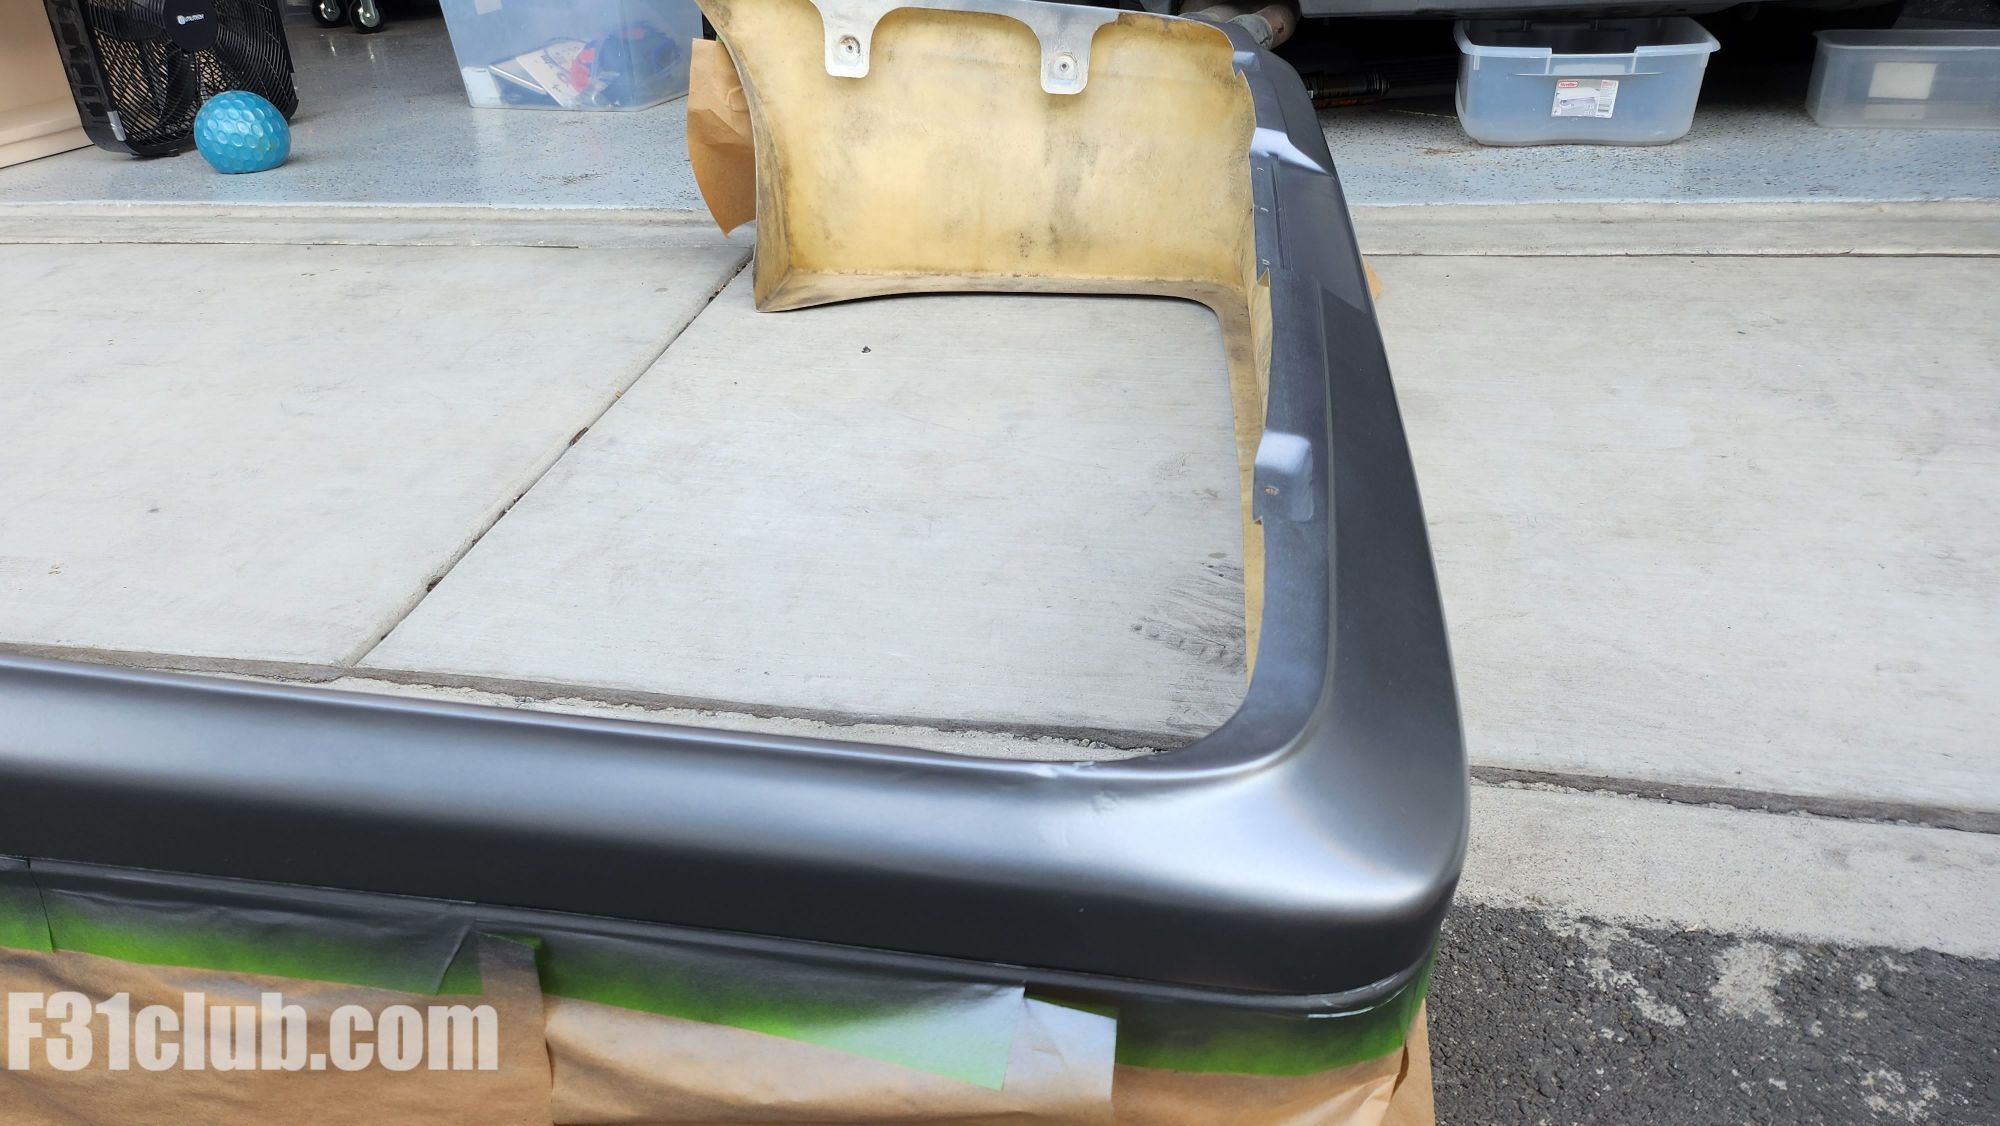
The Rear Bumper
The driver side corner of the rear bumper is where shipping damaged happened. I fiberglassed it last year, but didn’t take the time to do the top properly. I improved it this time, but it still needs work.
Sanded it down, put some filler and primered.

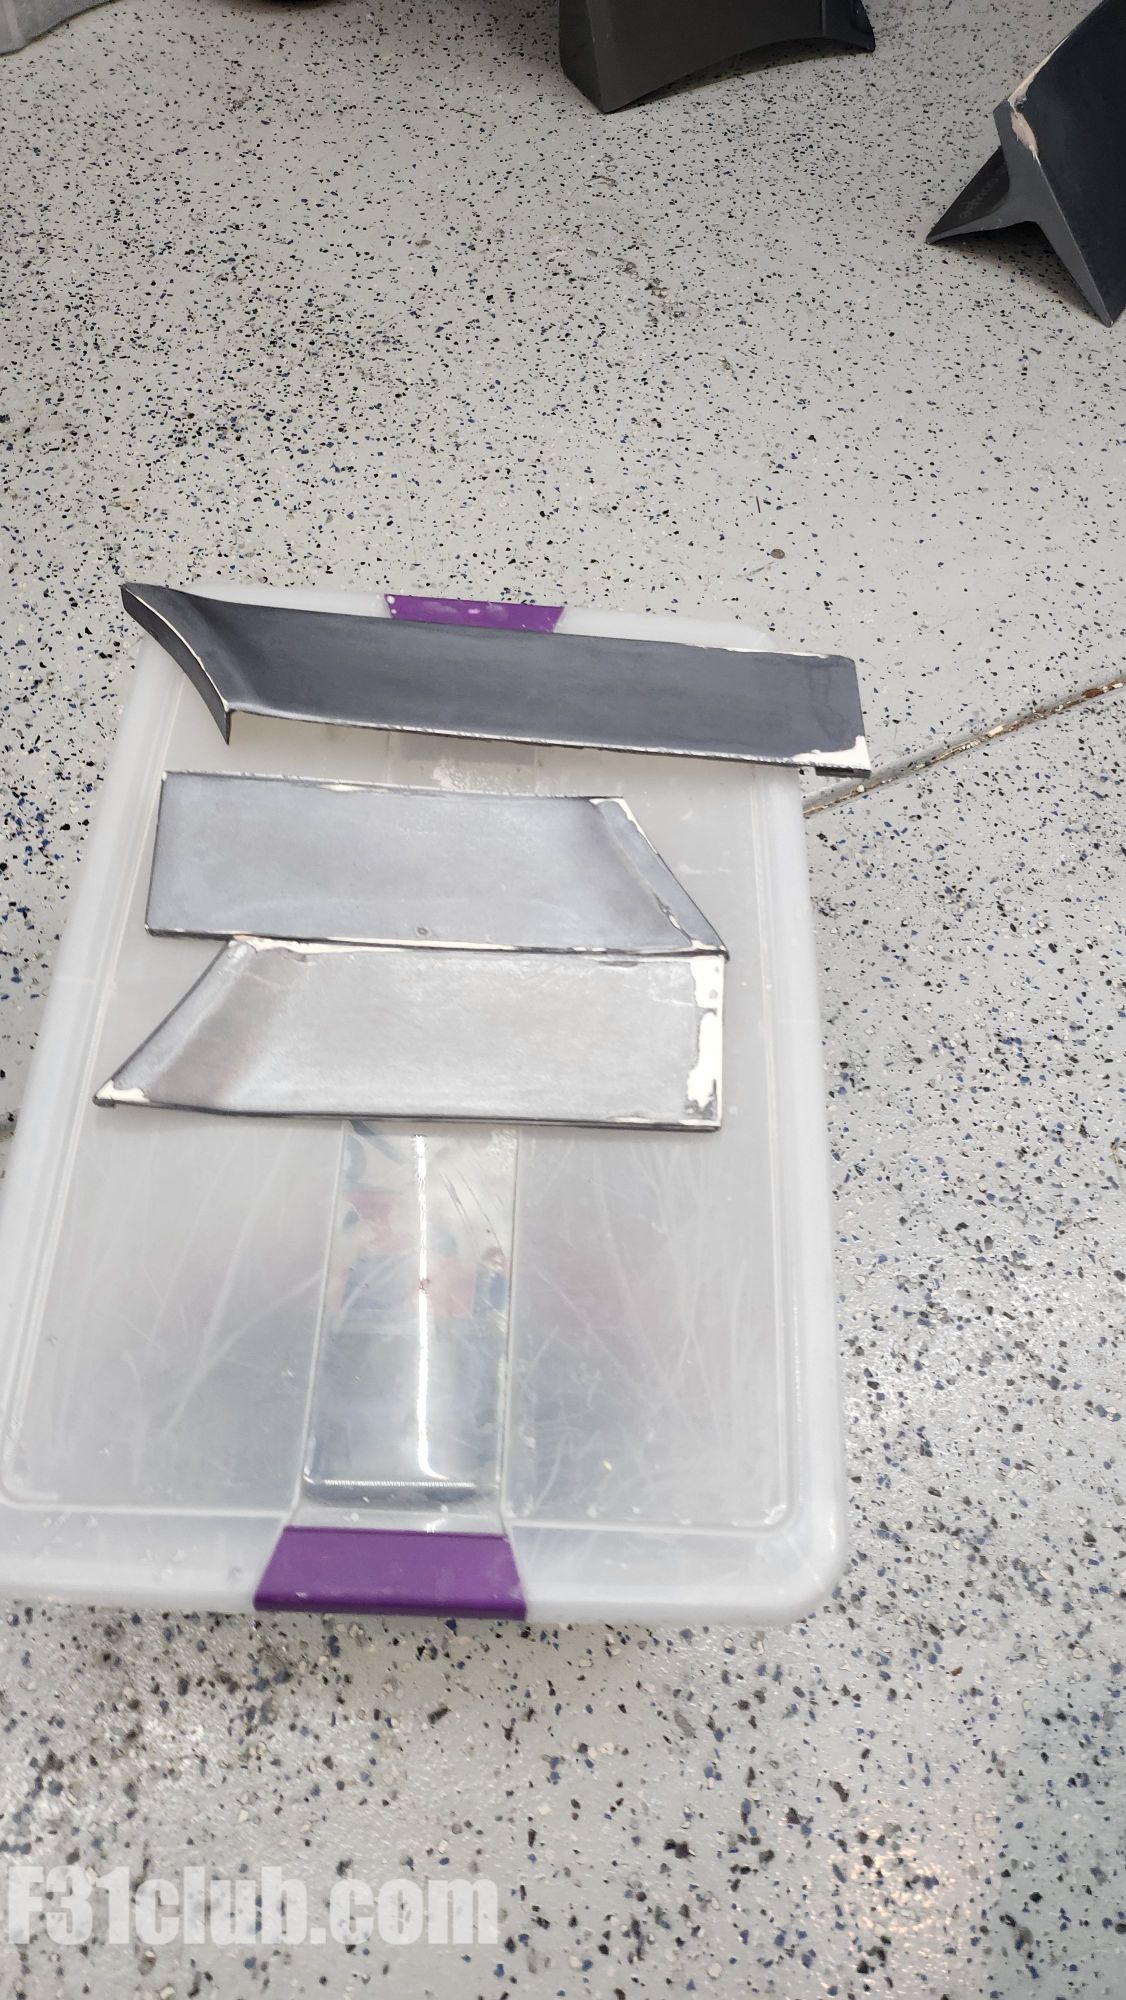
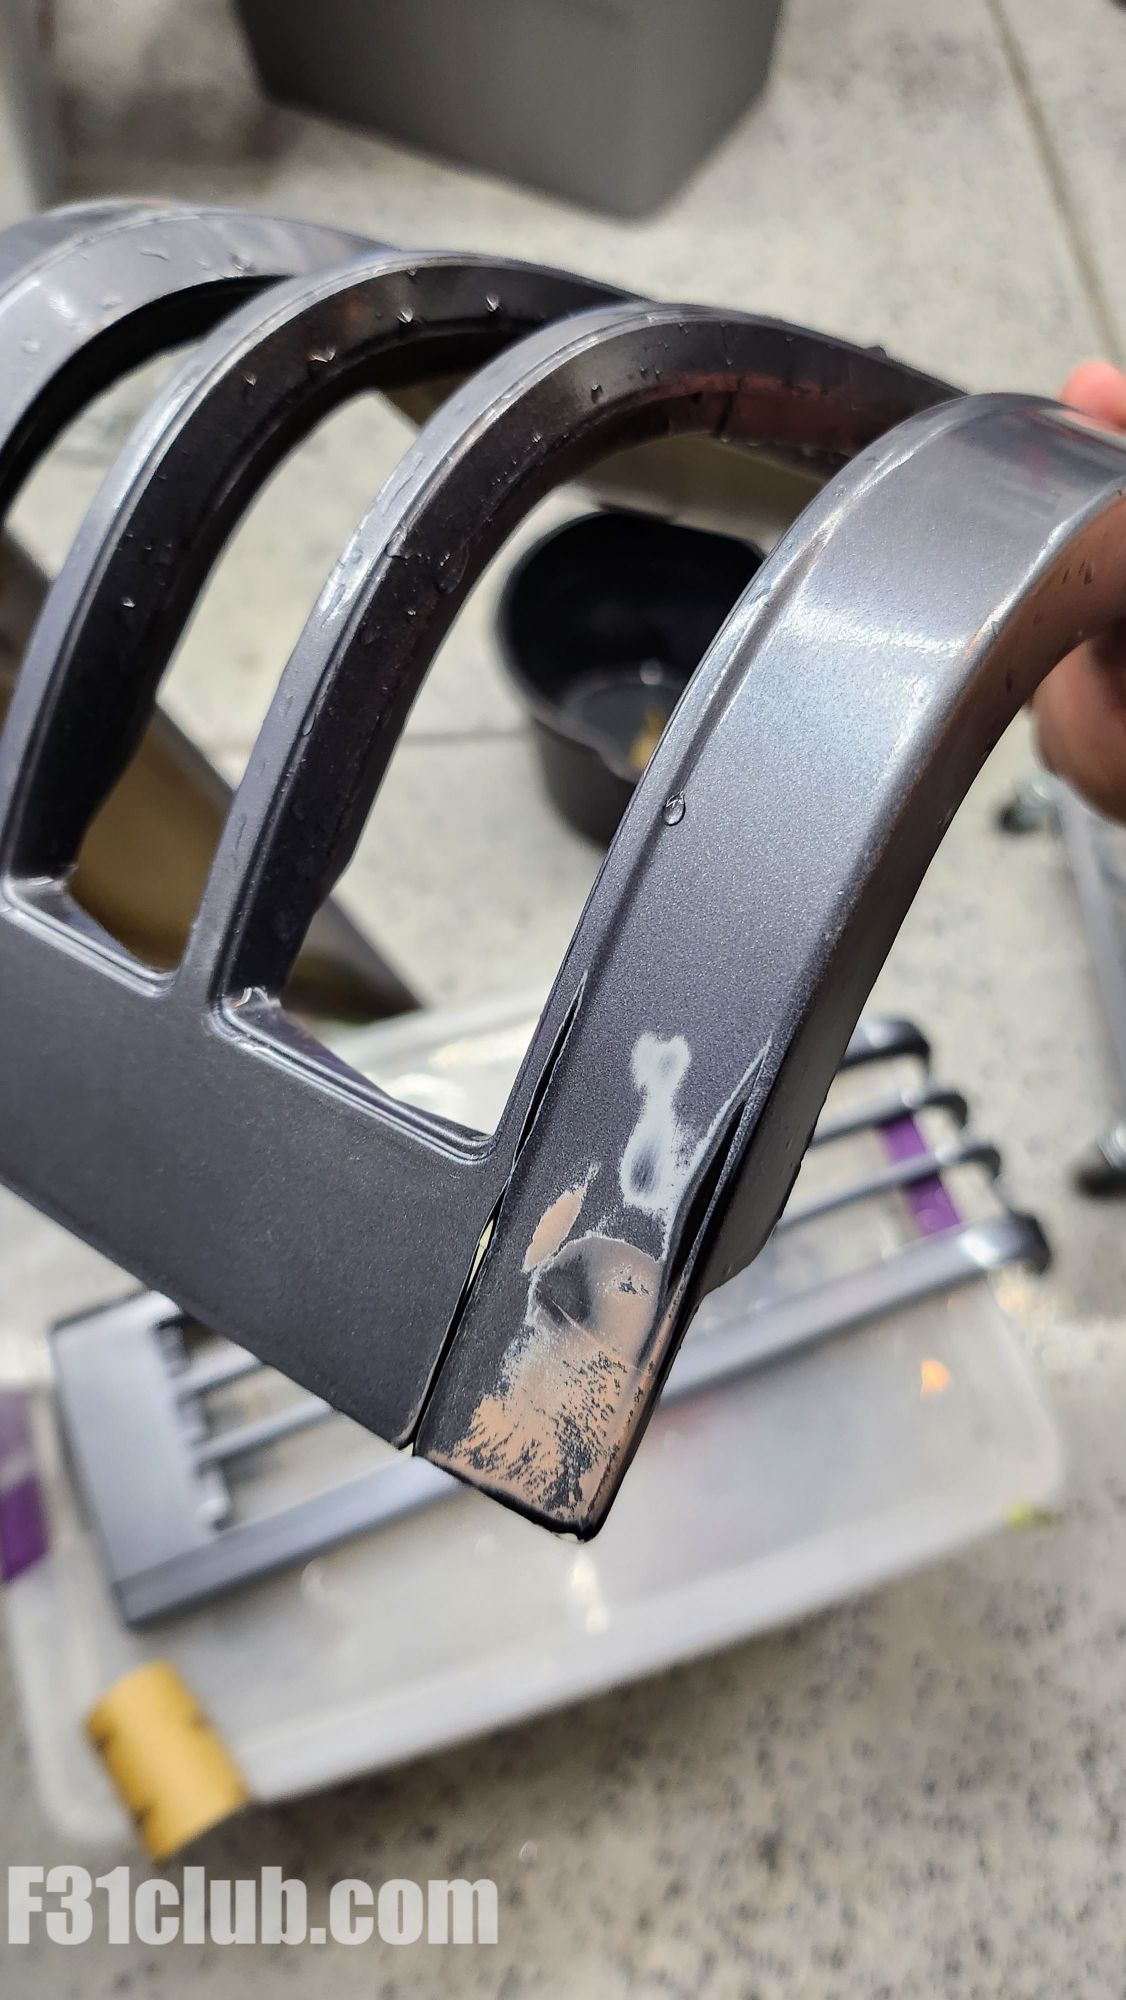
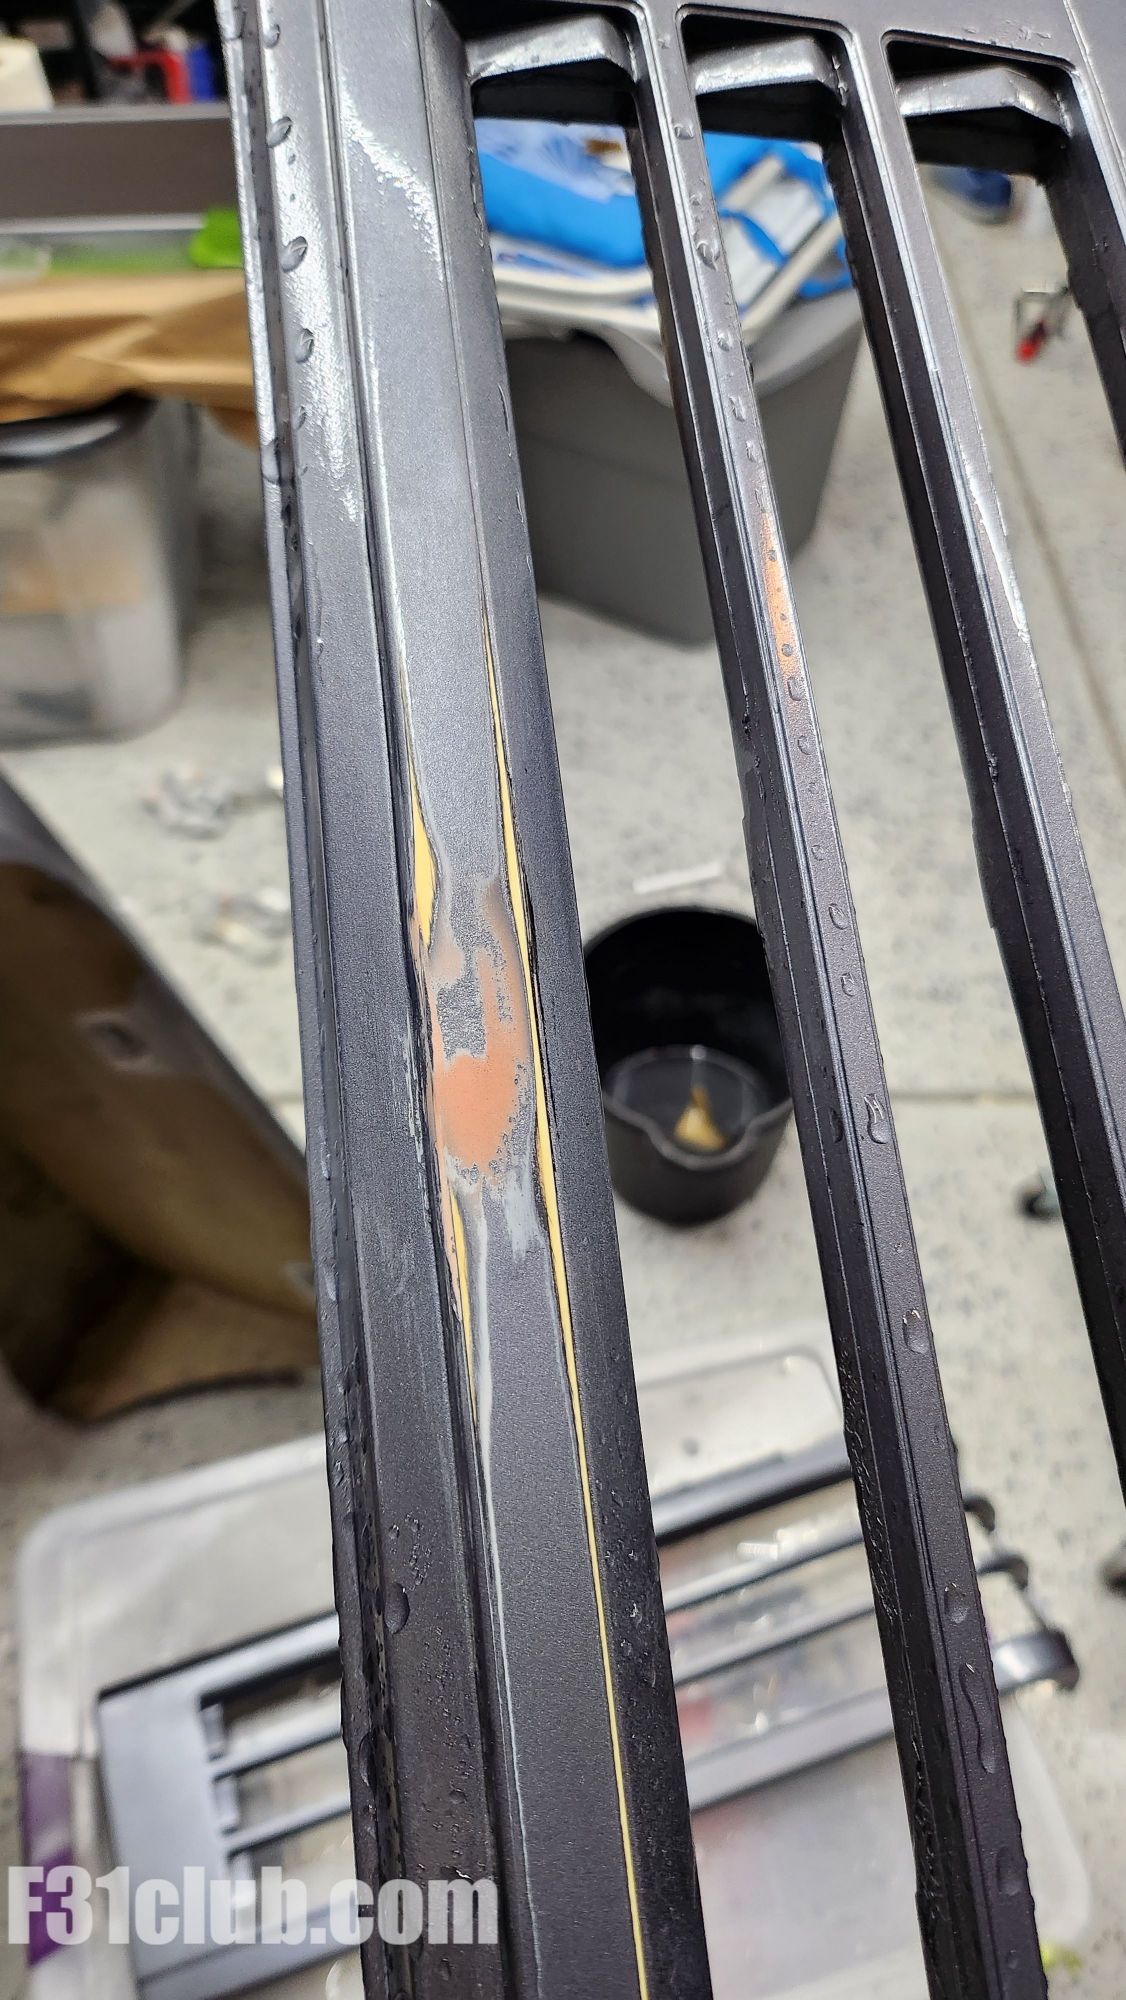
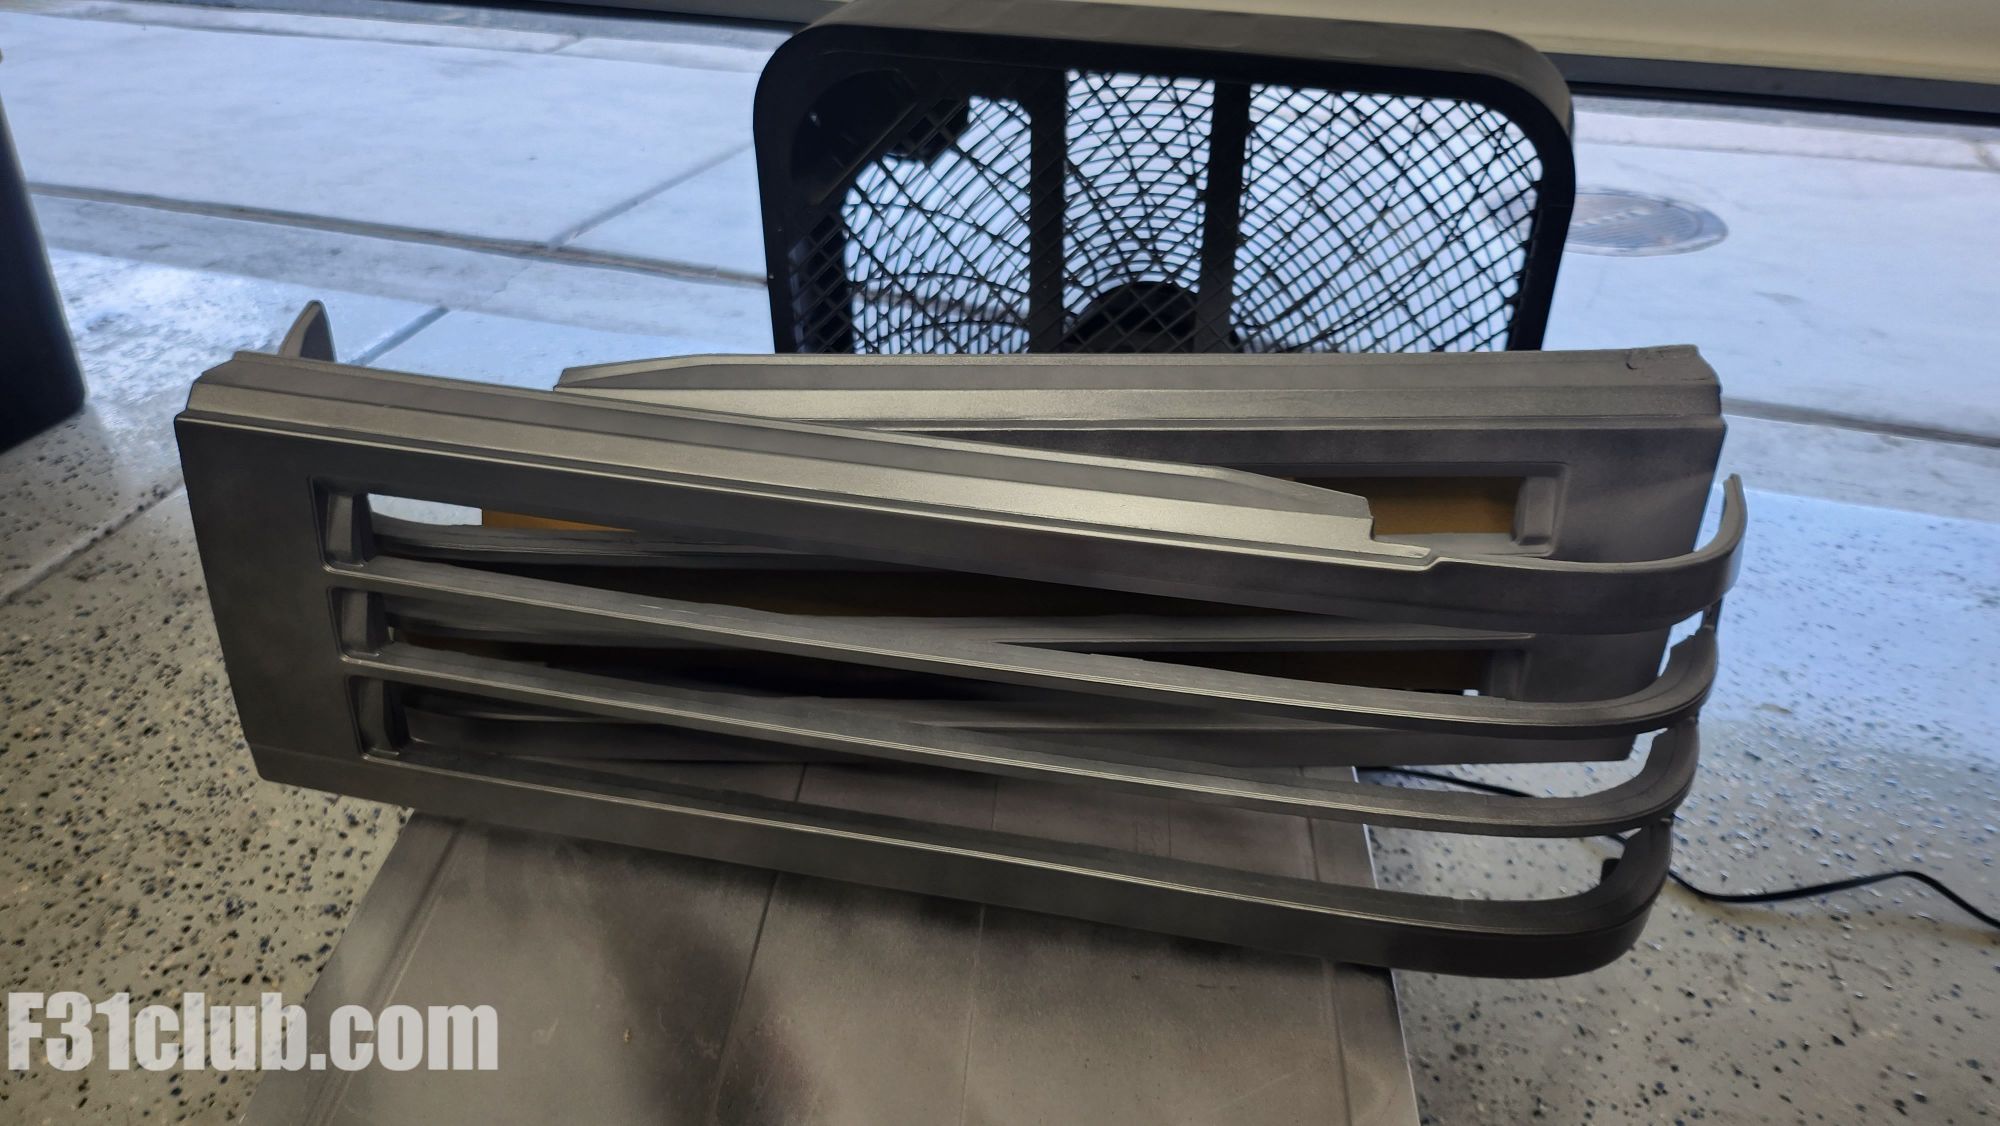
Moulding
The moulding were ok, but just needed to be smoothed out, so I did that as well.
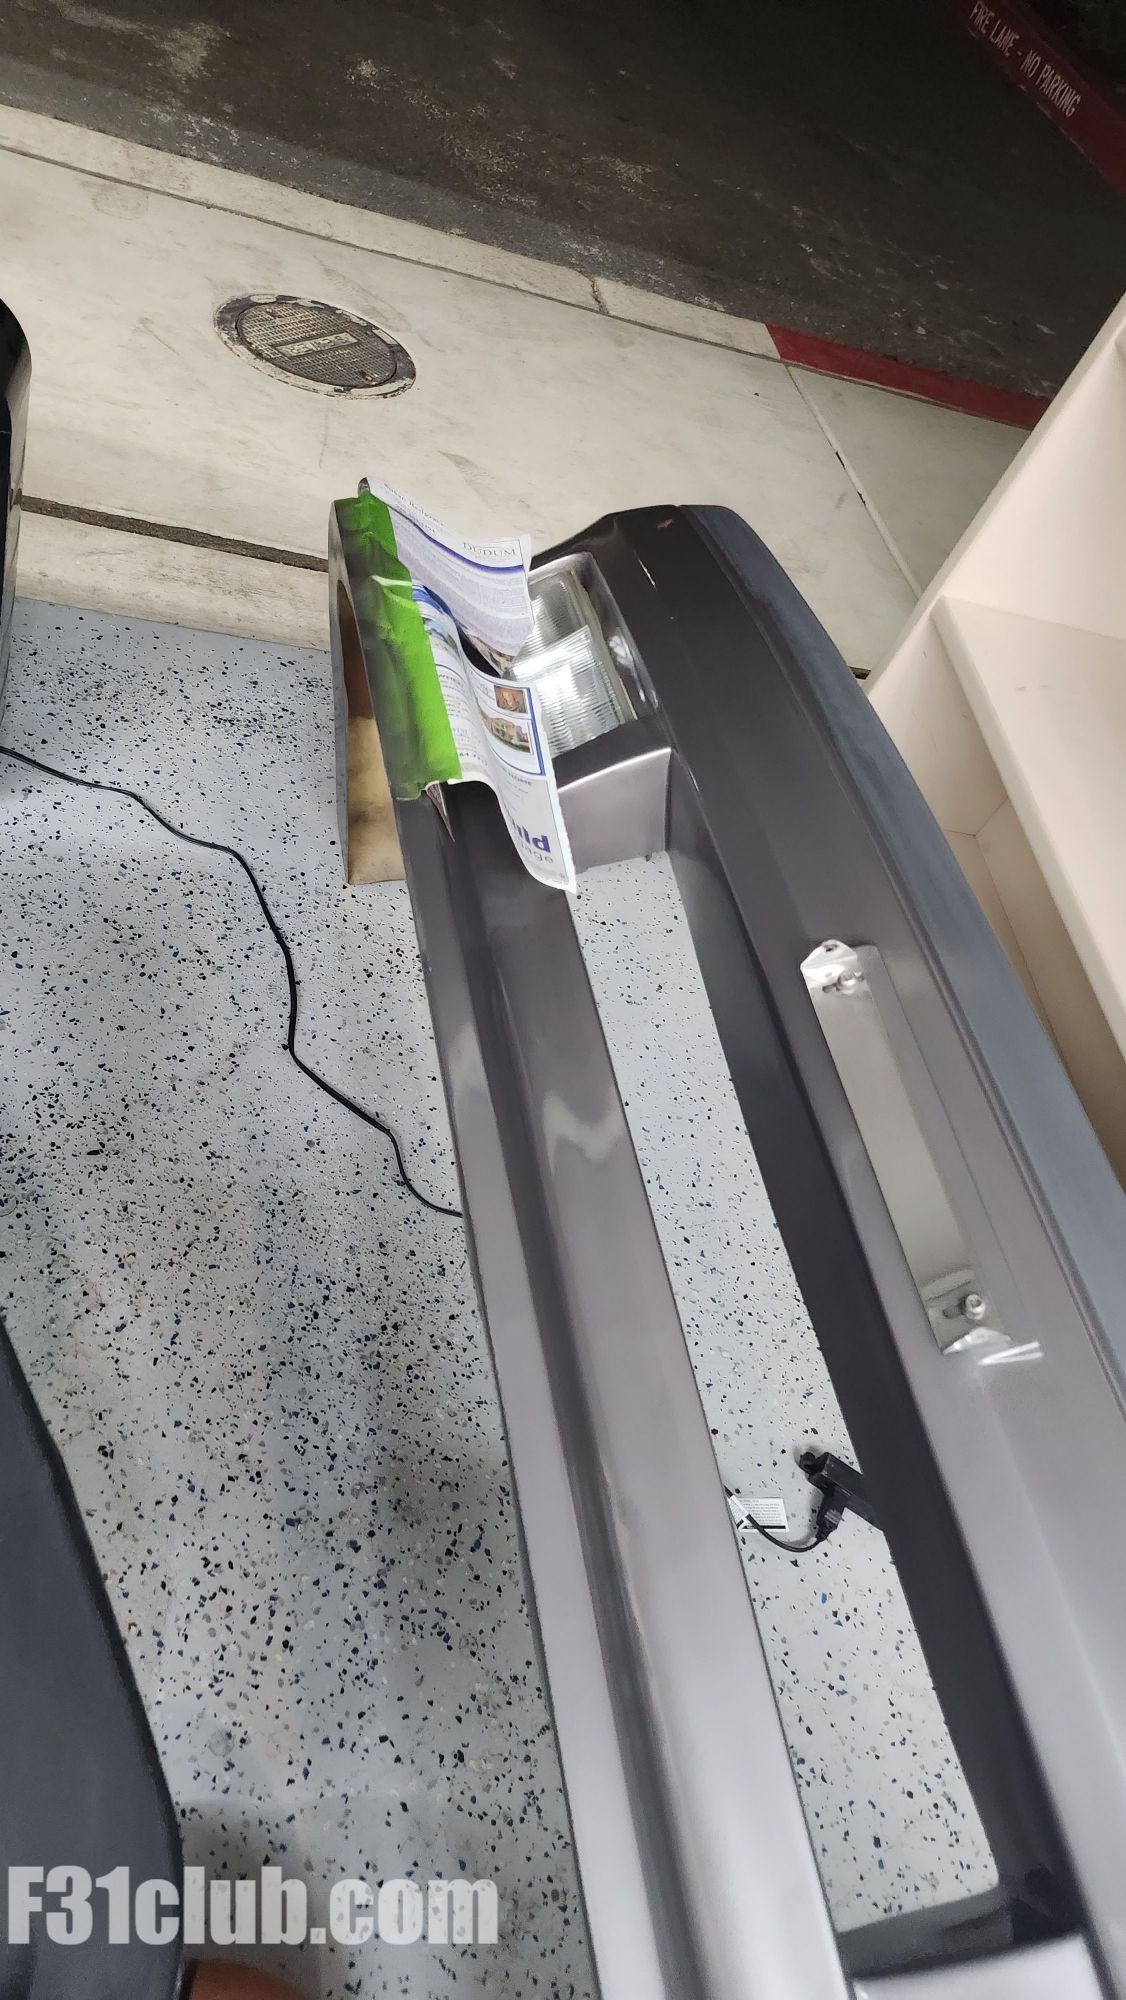
Front Bumper
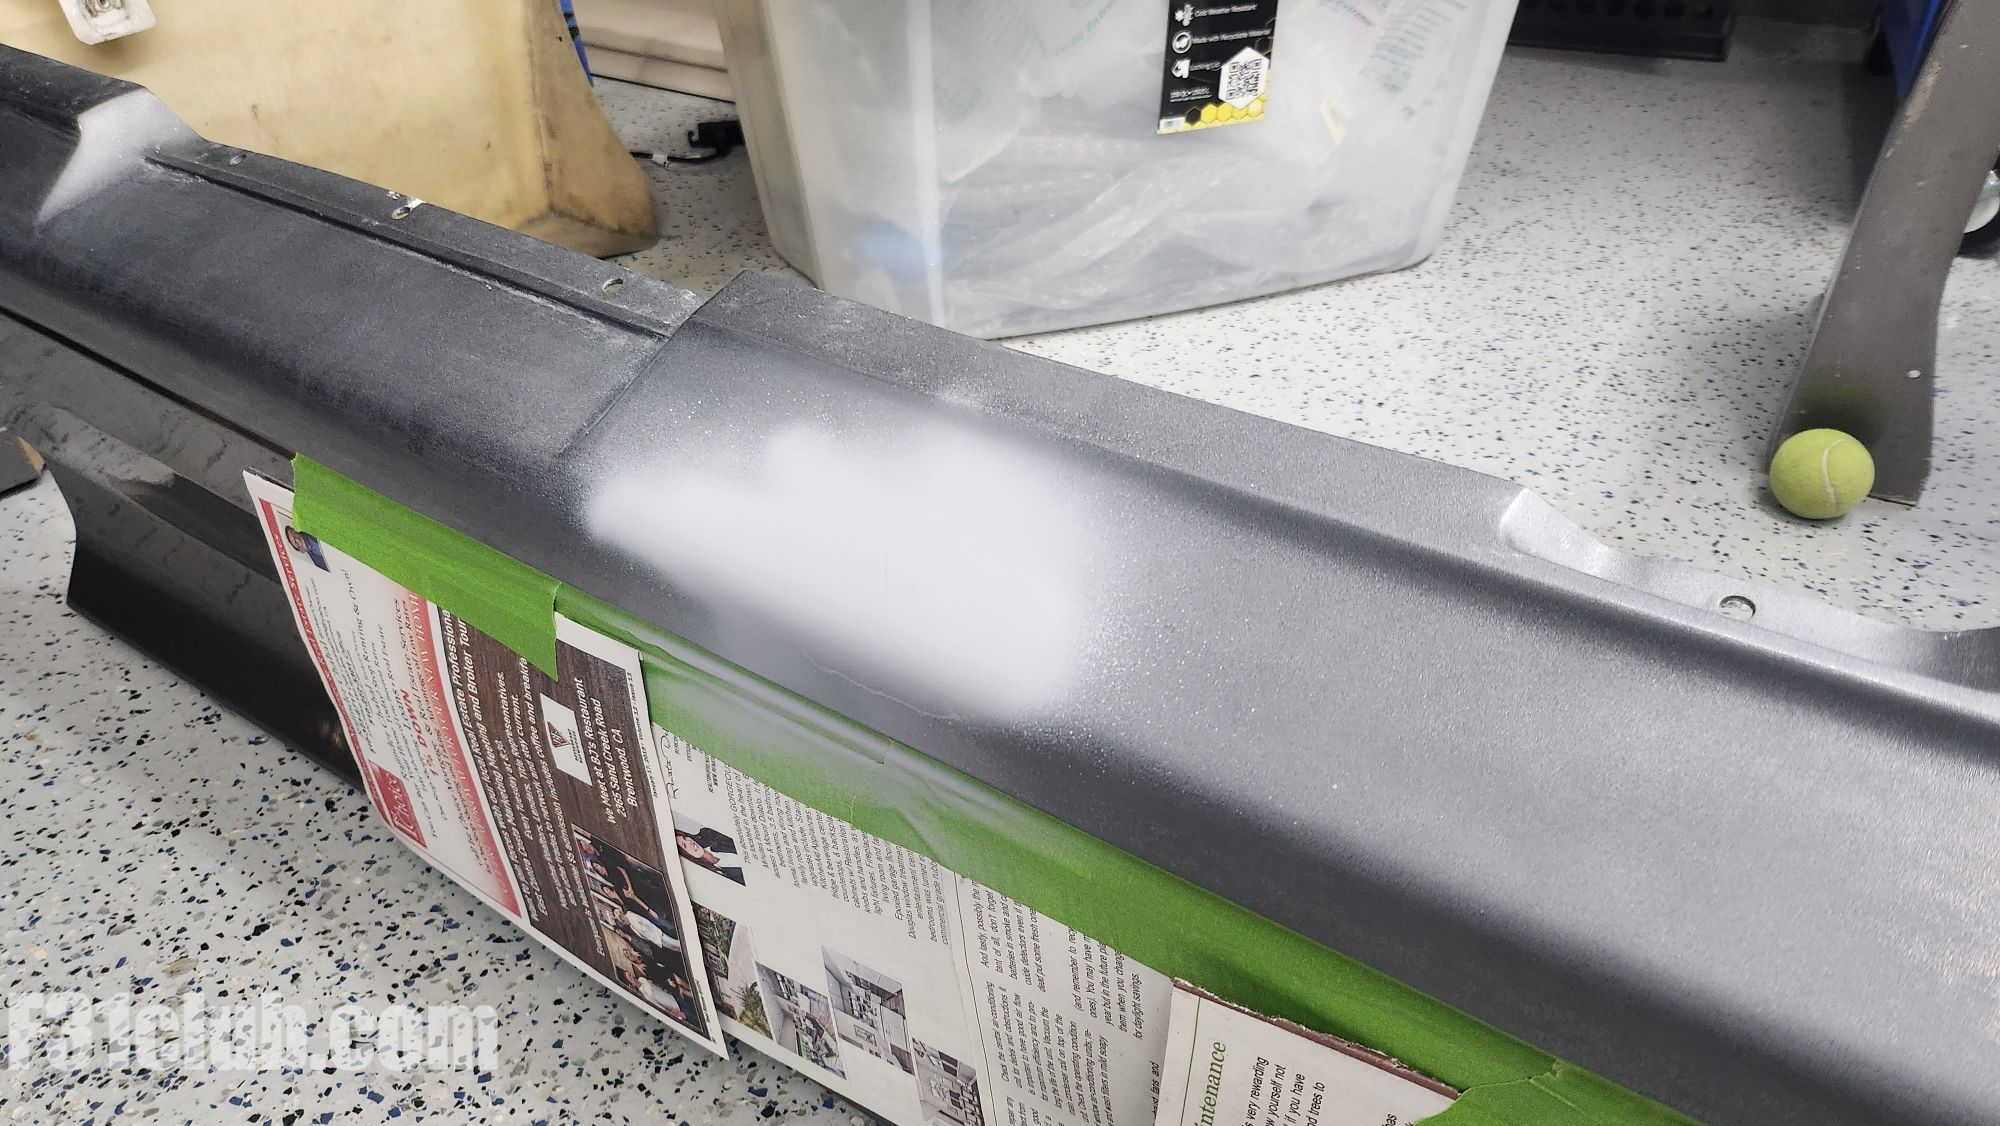
With the the show being this close, I didn’t want to go too deep with the front bumper. There were some chips on the bottom that I wanted to address and I had just a bit left of the grey metallic. So the bottom portion saw every little repairs.
The top portion was sanded down and prepped for paint.
Zenki Tail lights
These tail lights were good condition, but did have some issues with the bezel. There were also some cracks on the corners.

Heads and Tails part 3: Zenki taillights arrival and assessment
I painted them for Radwood, but it was just a quick shot. So now, I really wanted to address those issues and make it a bit better.
Door panels
Since the door panels were not done right, this was the 1st piece I addressed! Sorry, forgot to take a picture.
Painted
The cost of a can of paint is now like $50… insane. I had to go pick up 2 cans for this project, which is plenty! With a better understanding of technique and even wet sanding (which I did before laying out the fresh paint), I am happy how these came out.
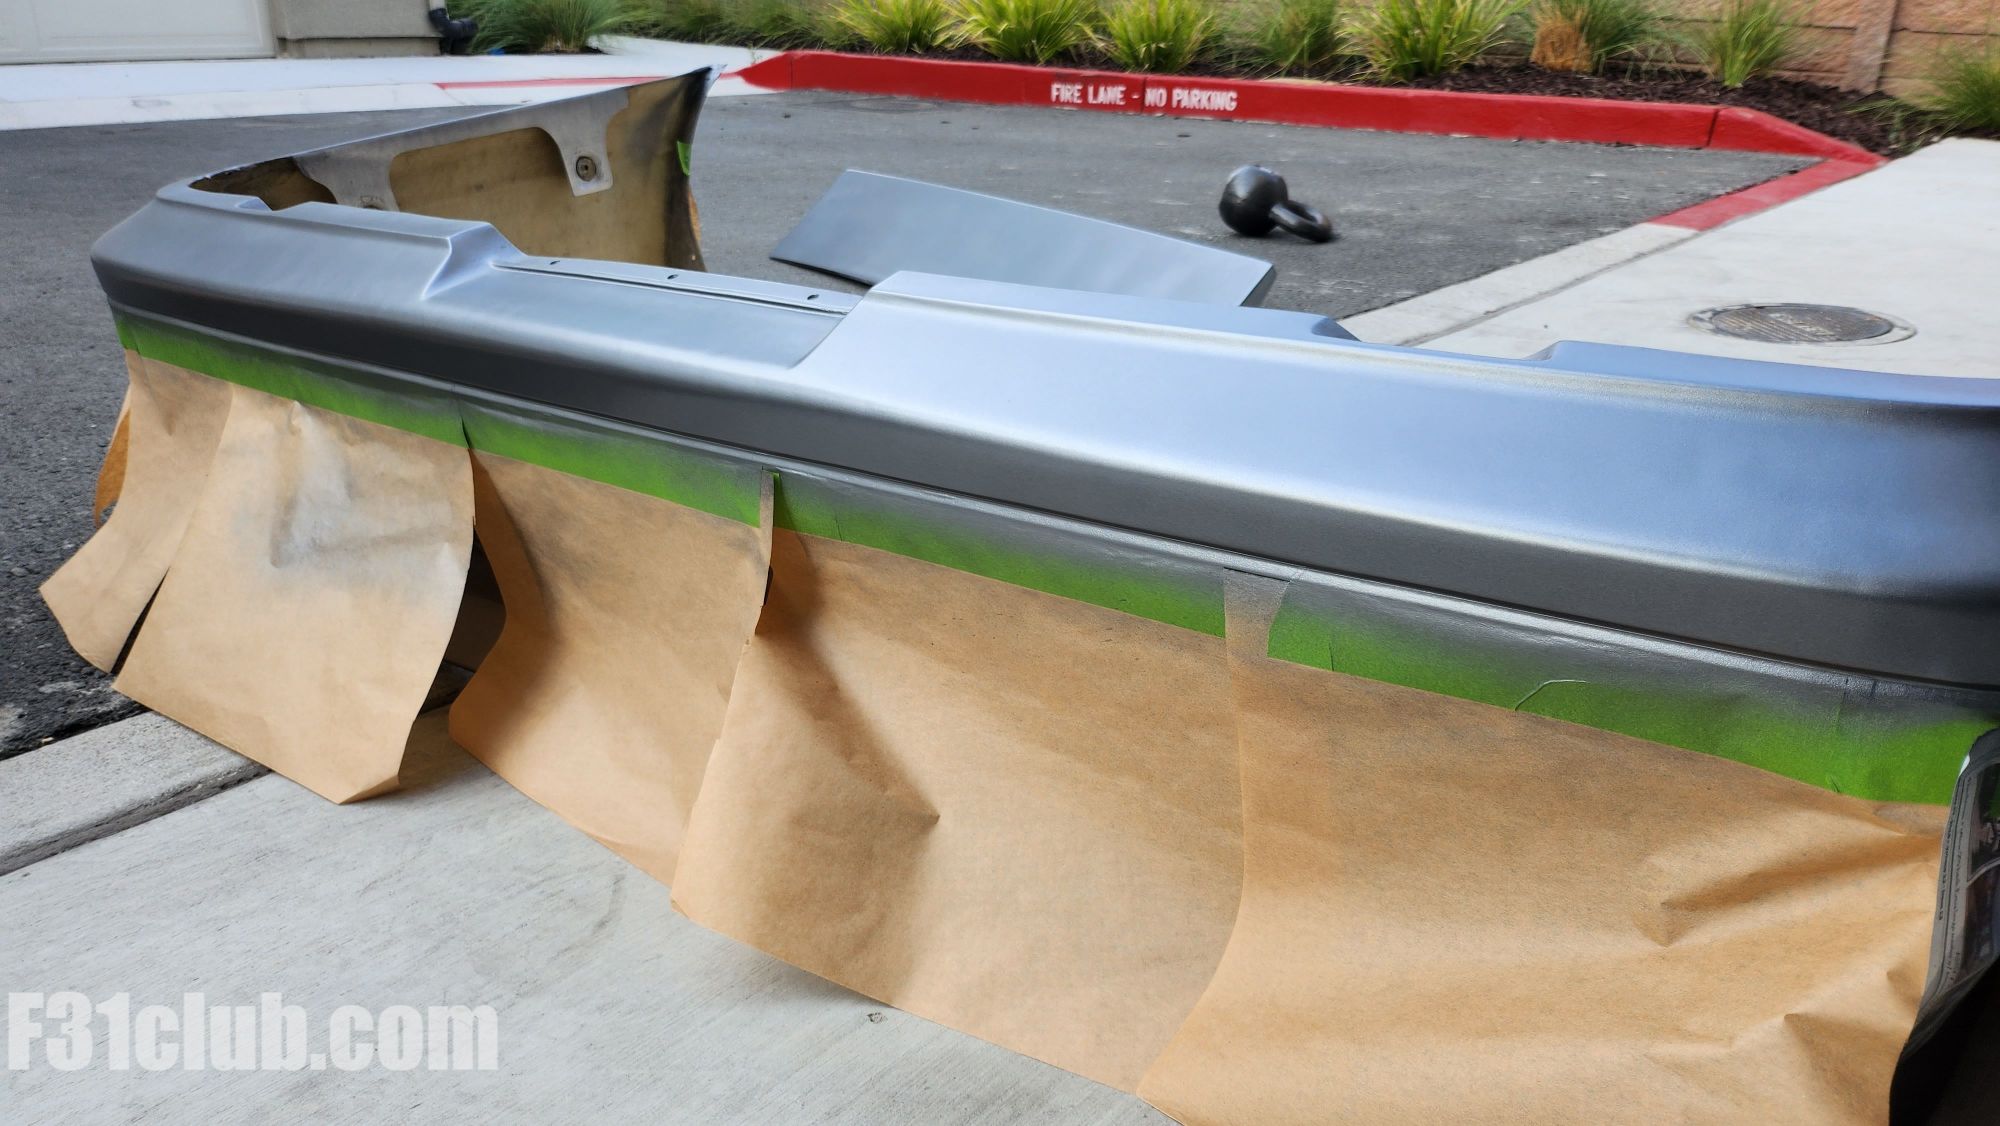
Front bumper:
Rear bumper. While it isn’t super smooth, it was WAY better than how it was. There were also spider cracks at a few spots that I sanded down, filled and primered. They didn’t show up!!
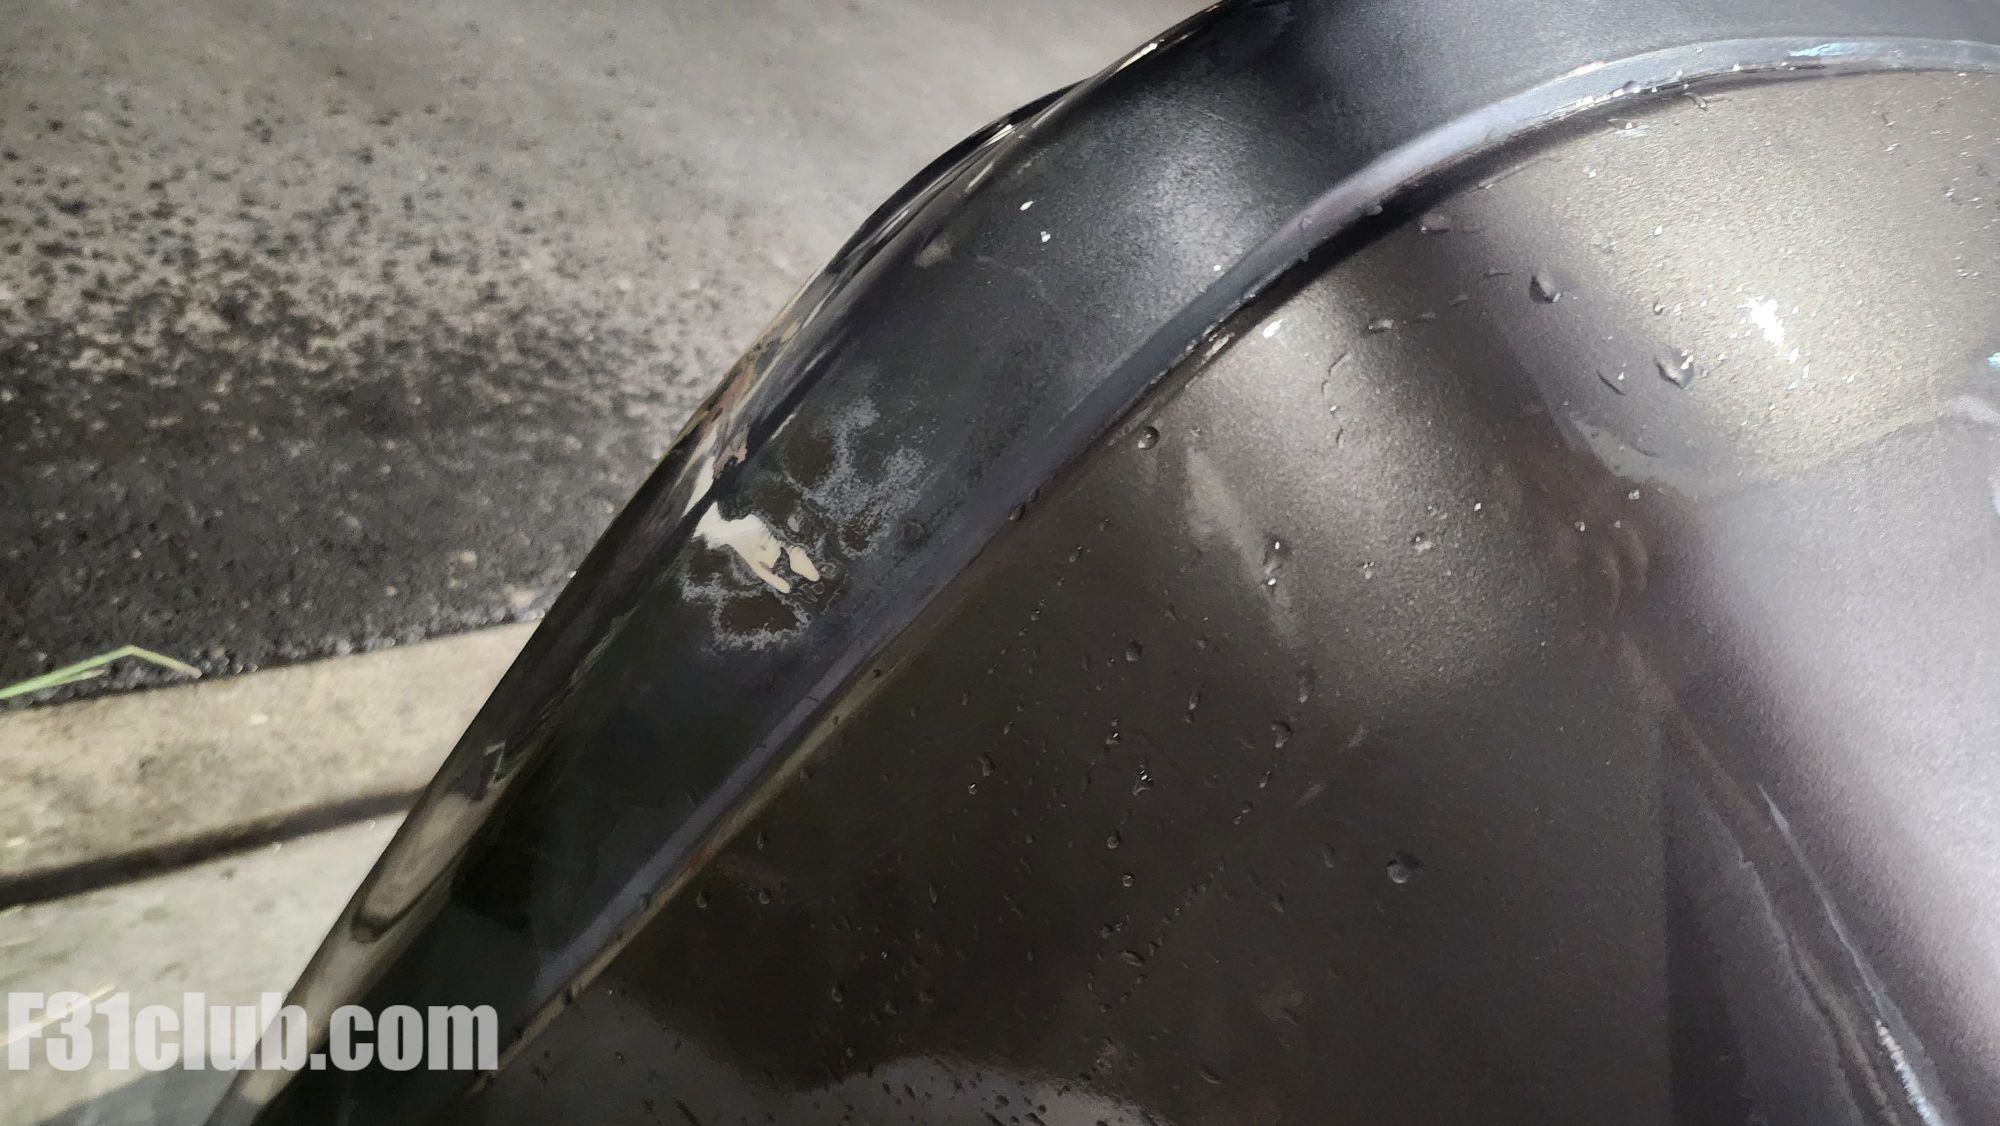
The wing came out better. Though the deep scratches on the edge still showed through.
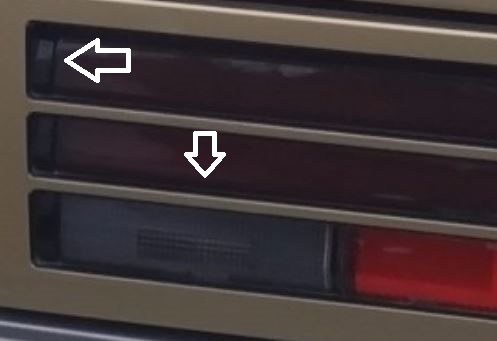
Tail light bezel came out looking good. Barely see the messed up part.
One thing that was pointed out to me by the Japanese brothers, was that there are black highlights in the tail lights that I need to do on both this set and Project Leopard’s set.
I started to tape off the areas and prep them for paint.
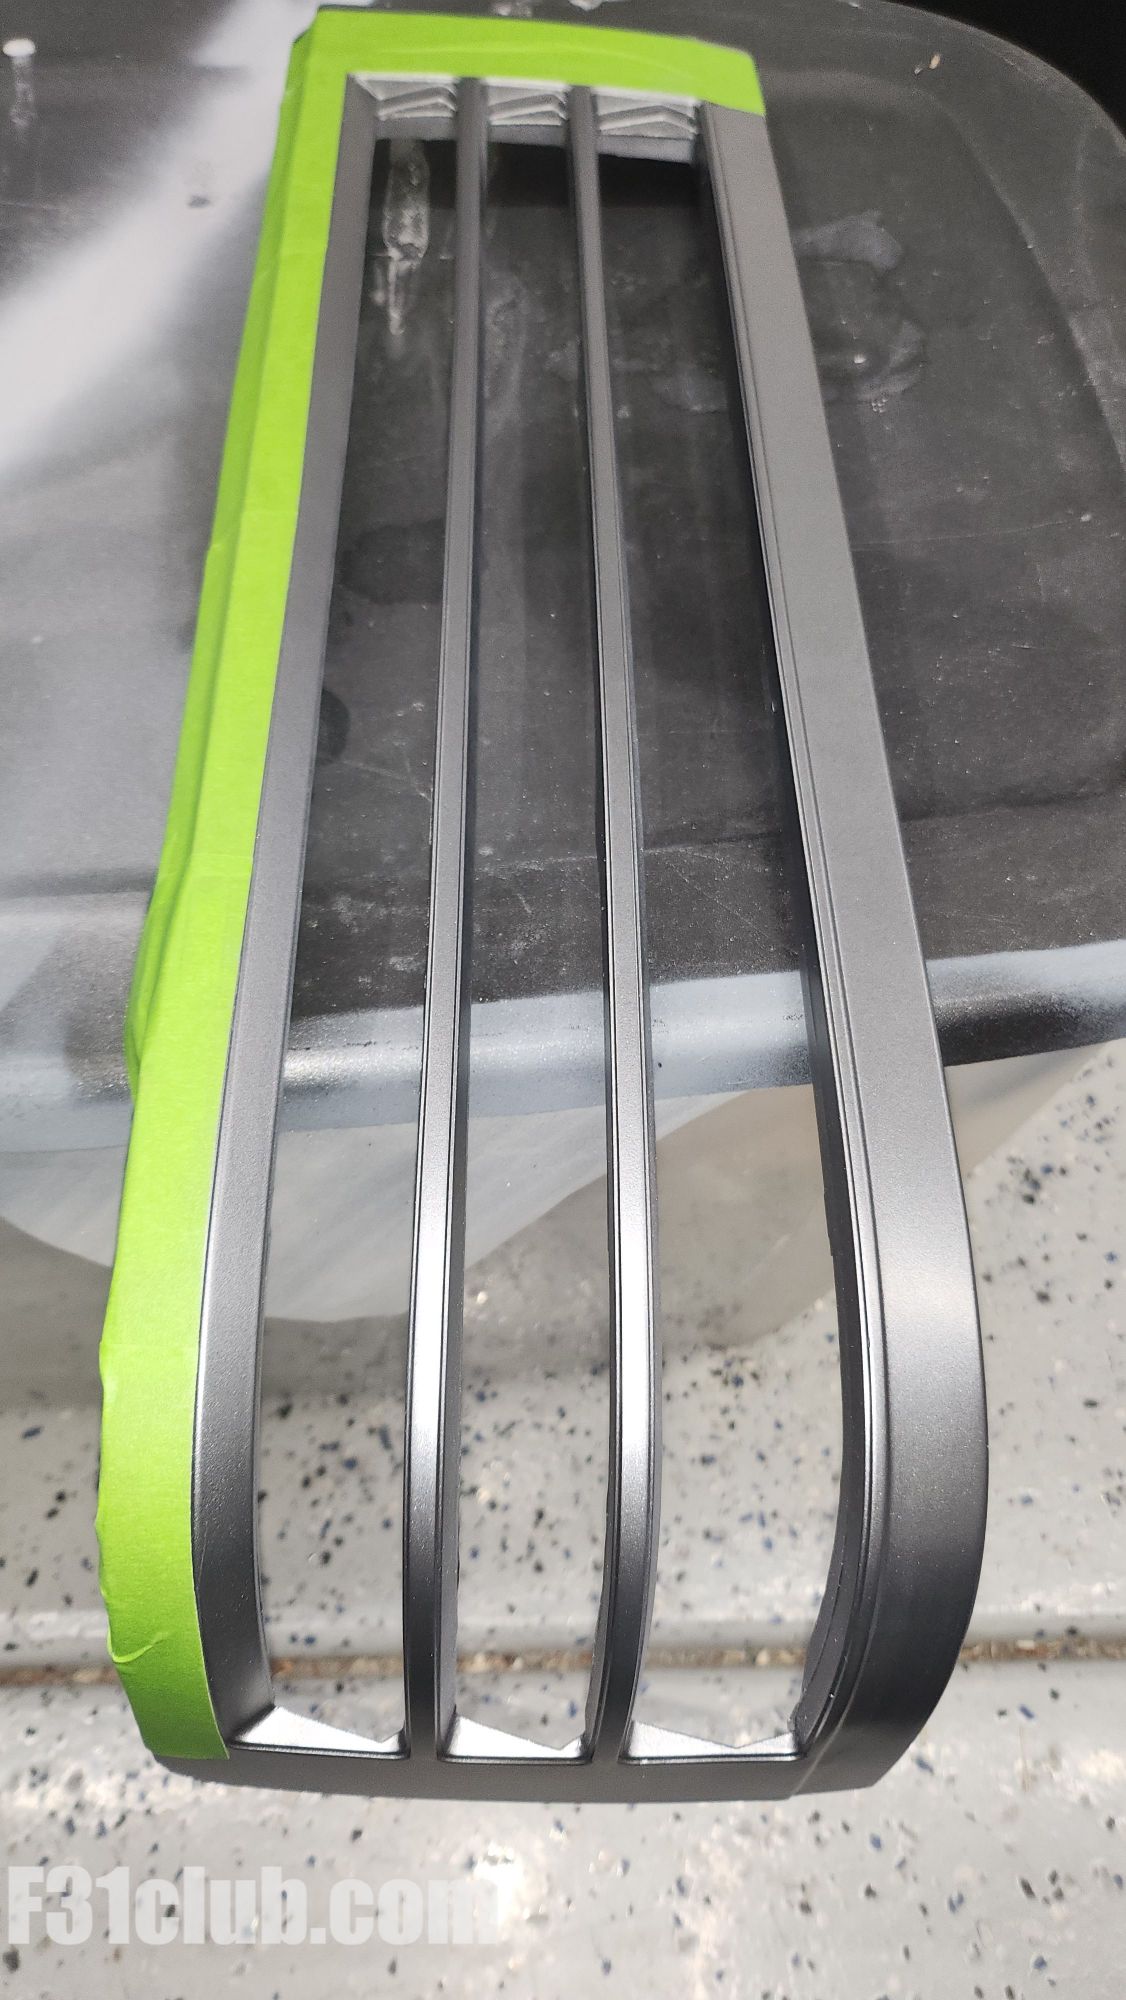
Now that most of these are addressed, I will probably clear coat them soon.